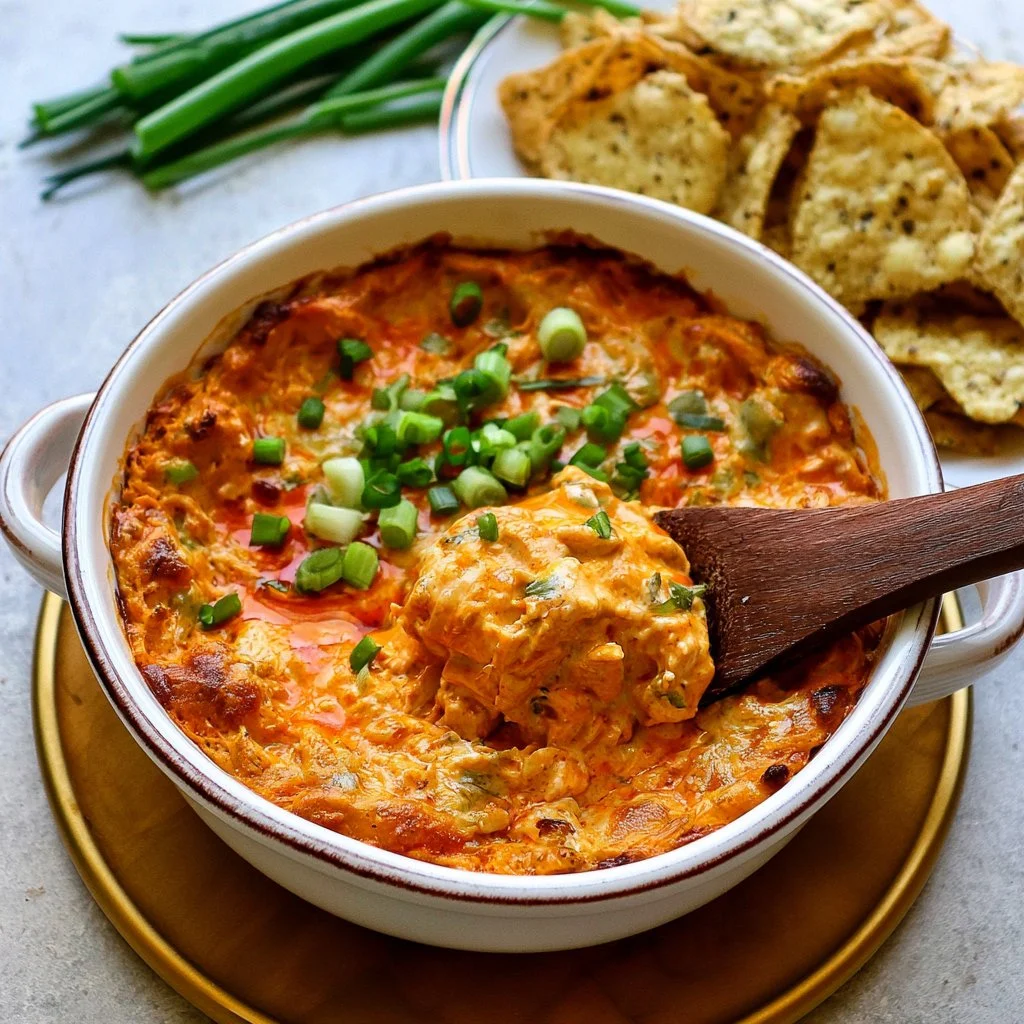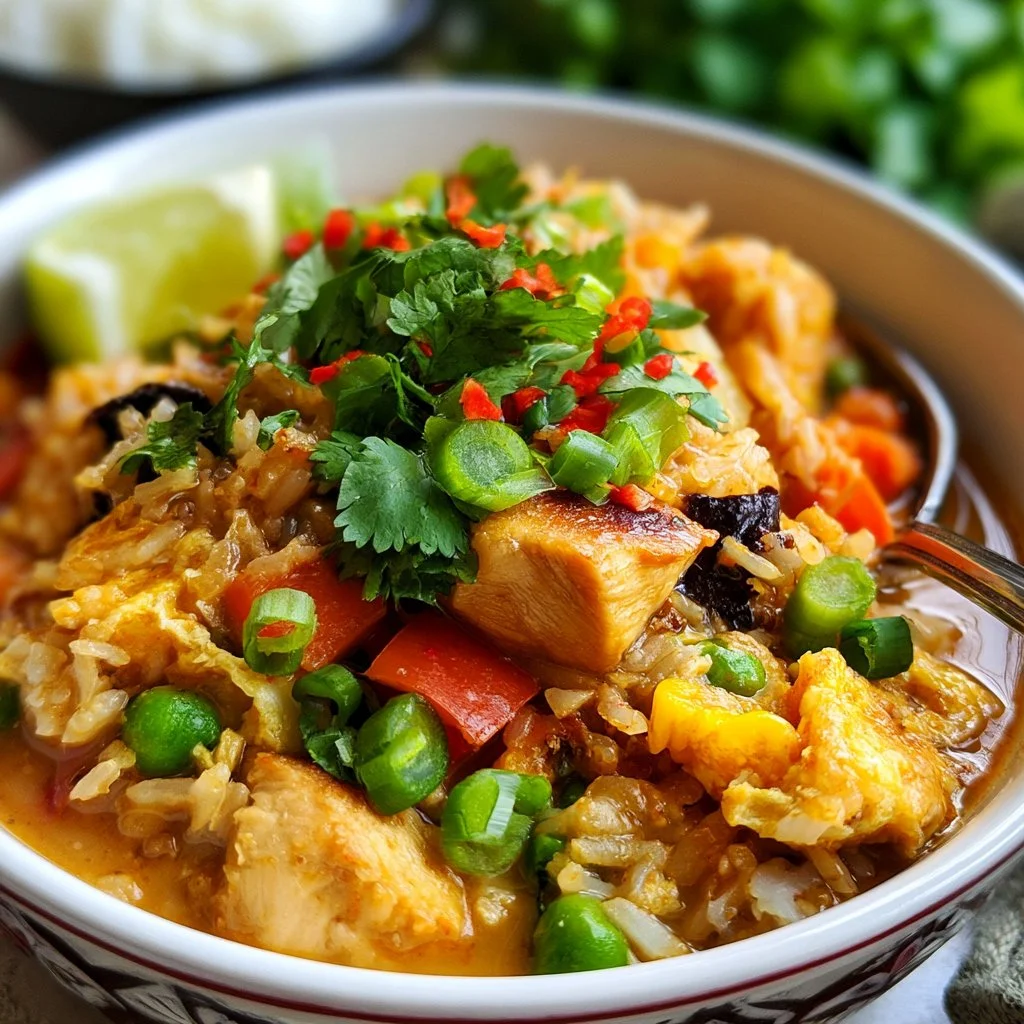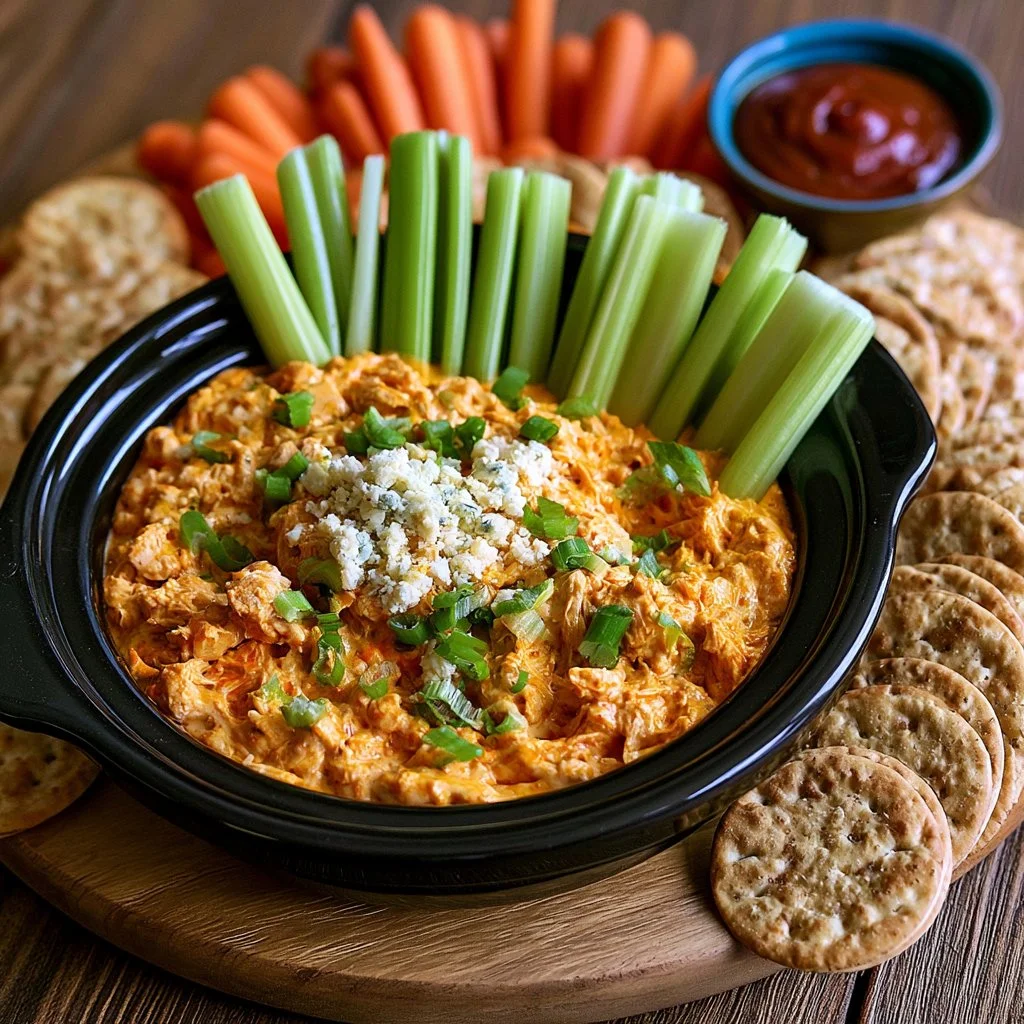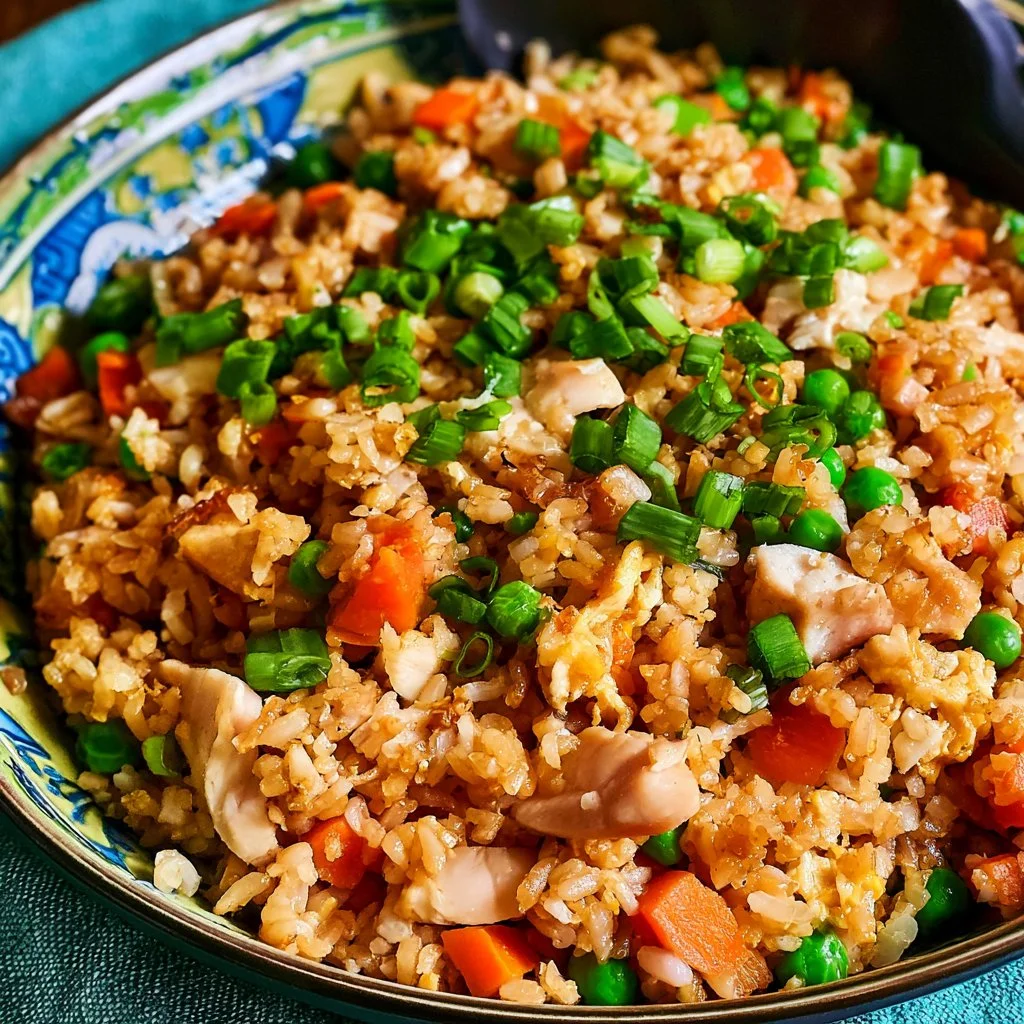

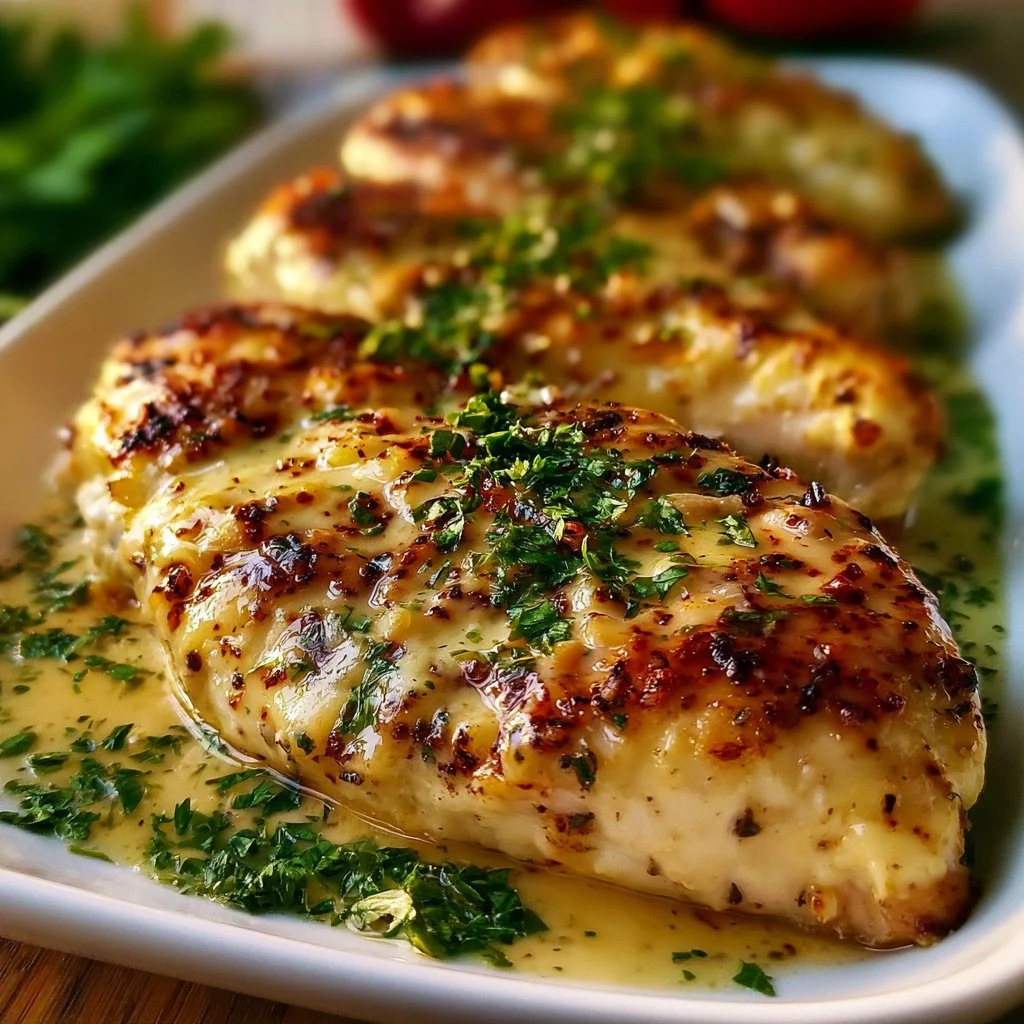
Cooking can feel like a dance, especially on busier days when simplicity takes center stage. Whether it’s a weeknight meal or a gathering with friends, having a reliable recipe can make all the difference. This chicken breast dish is designed to be straightforward, offering comfort and flavor without fuss or extensive prep work. It’s an inviting option for those quiet moments when you want something satisfying yet easy to prepare. I invite you to embrace the simplicity of this recipe.
Why You’ll Love This Lazy Way To Juicy Chicken Breast
This dish is all about ease and reliability, making it perfect for everyday cooking. Juicy chicken breasts come together with a creamy coating that balances flavors nicely. You’ll appreciate how practical the recipe is, allowing you to serve a comforting meal without complicated steps. It’s the kind of recipe you can trust to deliver delicious results every time you make it.
Kitchen Tools You’ll Need
- Baking dish
- Meat mallet or rolling pin
- Mixing bowl
- Measuring spoons
- Rubber spatula
Ingredients
- 4 boneless skinless chicken breasts (lean protein)
- 1 tbsp olive oil (adds moisture and flavor)
- 1 tsp garlic powder (enhances savory taste)
- 1 tsp paprika (provides mild sweetness and color)
- 1/2 tsp salt (enhances flavor)
- 1/2 tsp black pepper (adds slight heat)
- 1 cup mayonnaise (creates a creamy coating)
- 1/2 cup grated parmesan cheese (adds richness and flavor)
- 1 tsp garlic powder (for extra depth)
- 1/2 tsp onion powder (rounds out the flavor)
How to Make The Way To Juicy Chicken Breast
Step 1. Begin by thoroughly patting the chicken breasts dry. Drying them helps the seasoning adhere better, ensuring that each bite is flavorful. Look for the surface to feel smooth and not wet, which allows for proper browning in the oven.
Step 2. Next, gently pound the thicker parts of the chicken breasts until they are of uniform thickness. This step promotes even cooking, preventing some parts from overcooking while others remain underdone. You’ll know it’s done when each piece appears flattened and evenly thick.
Step 3. Prepare the seasoning blend by mixing together garlic powder, paprika, salt, and black pepper. This balanced mixture ensures each bite is well-seasoned. Stir until everything is combined and evenly mixed for consistent flavor throughout.
Step 4. Rub the chicken breasts with olive oil, ensuring each piece is coated evenly. Follow this by applying the seasoning blend, so every surface is covered. The oil helps the seasoning stick and gives a nice flavor to the chicken, making it shine when baked.
Step 5. To create the creamy coating, combine mayonnaise, parmesan cheese, garlic powder, and onion powder in a mixing bowl. Stir the ingredients until the mixture is smooth, with no lumps remaining. This mixture will provide a rich flavor and moisture to the chicken.
Step 6. Once the creamy mixture is ready, spread it evenly across the seasoned chicken breasts. This step should coat each breast generously, ensuring that the flavors meld during baking. Look for an even layer covering the surface for consistent taste.
Step 7. Prepare your baking dish by lightly greasing it, then arrange the coated chicken breasts in a single layer. This arrangement ensures that each piece bakes evenly and there’s enough space around them for heat to circulate. The dish should be ready with the chicken placed neatly inside.
Step 8. Bake the chicken in the preheated oven until fully cooked and lightly golden. The outside should have a golden hue, which indicates that it’s likely crisping nicely. You can watch for slight bubbling around the edges, signaling it’s nearing completion.
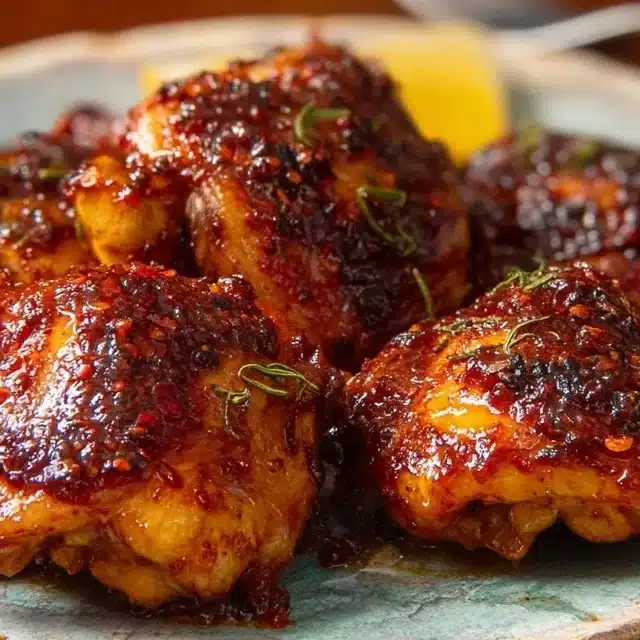
Step 9. Keep an eye on the surface of the chicken for gentle browning. This visual cue serves as reassurance that the creamy coating is developing a slight crust while keeping the chicken tender within. It should look inviting as it approaches doneness.
Step 10. To check for doneness, ensure the internal temperature of the chicken reaches 165°F. A meat thermometer will provide accurate results, so the chicken is safely cooked through without being dry. The juices should run clear when sliced.
Step 11. Allow the chicken to rest after baking. This step is crucial for redistributing the juices and ensuring each piece remains moist. You’ll notice it looks slightly plumper and more appealing after resting, making it a joy to serve.
Step 12. Finally, serve the chicken warm. Each bite should be inviting, tender, and full of flavor. The combination of the creamy coating with the juicy chicken makes for a delightful dish perfect for any occasion. Enjoy your meal!
Serving Suggestions
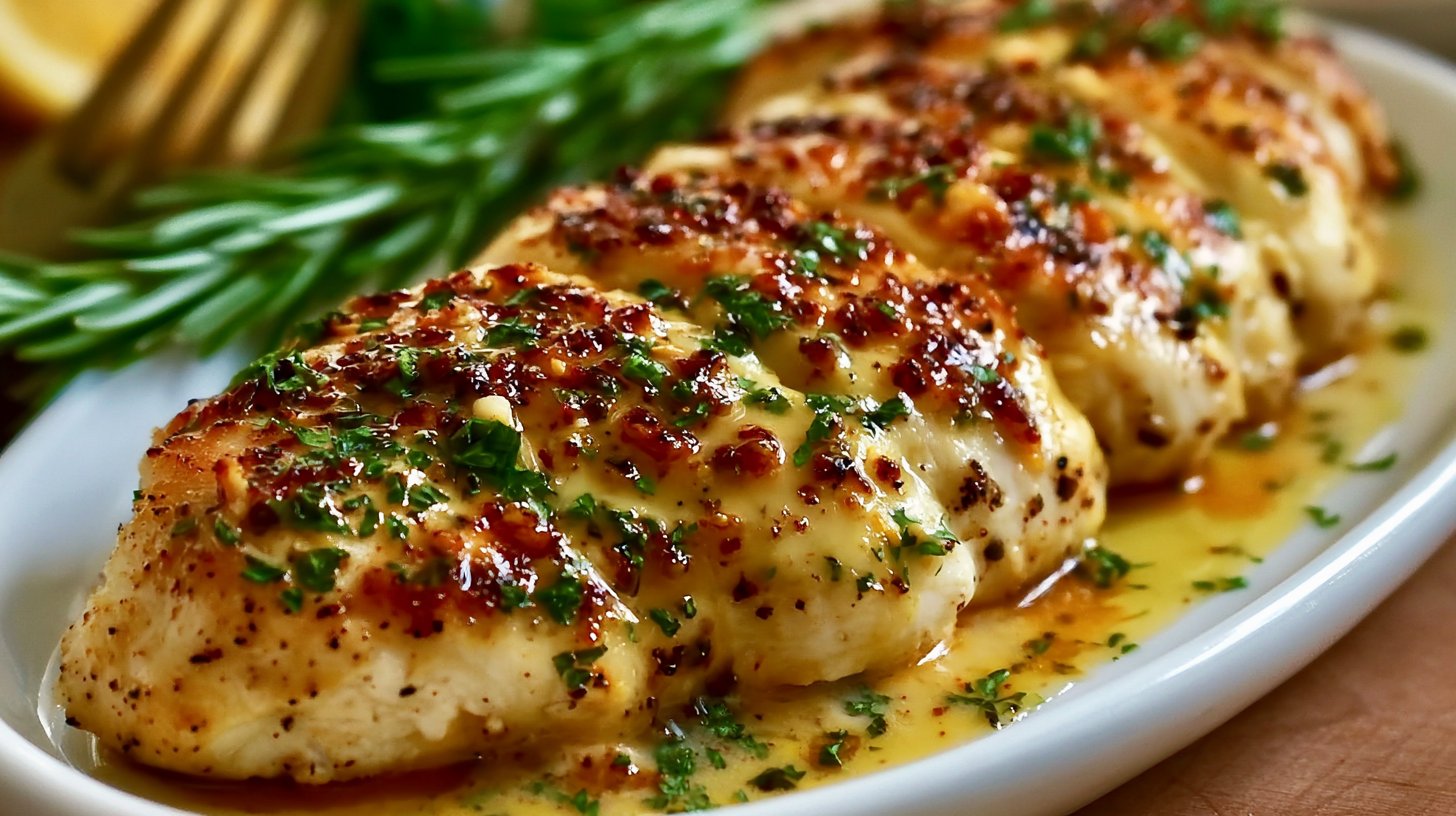
The juicy chicken breasts can be used in various ways, making them a great option for many meals. They work well for dinner alongside vegetables or a simple salad. Leftovers can be enjoyed cold in wraps or sandwiches for lunch. Slicing the chicken can make an excellent topping for salads, adding protein and flavor. With their versatility, you can also use them as a hearty component for meal prep or family gatherings.
Pro Tips for Best Results
- For more flavor, let the chicken marinate briefly after seasoning.
- Adjust the seasoning to suit your taste by adding more paprika or garlic powder.
- Ensure the chicken breasts are of similar size for even cooking.
- Use a meat thermometer to avoid overcooking.
- Allowing the creamy coating to sit for a few minutes before applying can enhance the flavors.
- Resting the chicken properly will help retain juices and moisture.
Common Mistakes to Avoid
- Not drying the chicken: This can result in less flavor and uneven cooking. Always pat it dry to enhance browning.
- Overbaking: This can lead to dry chicken, so use a thermometer for accurate doneness.
- Skipping the uniform thickness: If uneven, the chicken may cook inconsistently. Aim for a flat, even thickness for the best results.
- Applying too little seasoning: Ensure all surfaces are evenly coated for balanced flavor. Don’t skip this step.
- Ignoring resting time: Cutting into the chicken right away leads to loss of moisture. Allow it to rest for juicier results.
- Not greasing the baking dish: This could cause sticking, affecting the presentation. A light grease makes for easier serving.
Variations & Substitutions
- For a spicier version, you can add a pinch of cayenne pepper to the seasoning blend.
- Using Greek yogurt in place of mayonnaise can give a tangy flavor while keeping the texture creamy.
- Try adding herbs such as basil or thyme to the creamy coating for an herbaceous twist.
- A sprinkle of lemon juice just before serving can brighten the dish nicely.
- For added texture, consider topping the chicken with crushed crackers or breadcrumbs before baking.
Storage & Reheating
Store any leftovers at room temperature for no more than two hours. For longer storage, place the chicken in an airtight container and refrigerate, where it can last for about three to four days. If you prefer to preserve it longer, you can freeze the coated chicken. When reheating, place it in a preheated oven until warmed through to ensure the texture remains tender rather than dry.
Frequently Asked Questions
Can I make this recipe ahead of time?
Yes, you can prepare the seasoned chicken and creamy coating a few hours in advance. Simply store them separately in the refrigerator until you’re ready to bake.
How long does it last in the fridge?
Leftover chicken can be stored in the refrigerator for about three to four days. Make sure it’s in an airtight container for best freshness.
Can I freeze this recipe?
Yes, you can freeze the baked chicken. It’s best to wrap it tightly in plastic wrap or foil and then place it in a freezer bag to avoid freezer burn.
What can I substitute for one ingredient?
If you don’t have olive oil, melted butter can be used instead. It adds a nice flavor and moisture.
Why didn’t my recipe turn out as expected?
Common issues include not checking the chicken’s internal temperature or not ensuring even thickness. Taking care with these details can often lead to better results.
Final Thoughts
Making this dish is not just about the ingredients but creating a meal that nourishes and satisfies. The ease of preparation allows you to focus on enjoying the time spent in your kitchen. Each bite offers a comforting reminder of reliable home cooking. Trust in the process as you enjoy the fruits of your labor with family and friends.
Juicy Chicken Breast
Ingredients
Main Ingredients
- 4 pieces boneless skinless chicken breasts lean protein
- 1 tbsp olive oil adds moisture and flavor
- 1 tsp garlic powder enhances savory taste
- 1 tsp paprika provides mild sweetness and color
- 1/2 tsp salt enhances flavor
- 1/2 tsp black pepper adds slight heat
Creamy Coating
- 1 cup mayonnaise creates a creamy coating
- 1/2 cup grated parmesan cheese adds richness and flavor
- 1 tsp garlic powder for extra depth
- 1/2 tsp onion powder rounds out the flavor
Instructions
Preparation
- Begin by thoroughly patting the chicken breasts dry.
- Gently pound the thicker parts of the chicken breasts until they are of uniform thickness.
- Prepare the seasoning blend by mixing together garlic powder, paprika, salt, and black pepper.
- Rub the chicken breasts with olive oil, ensuring each piece is coated evenly.
Making the Creamy Coating
- Combine mayonnaise, parmesan cheese, garlic powder, and onion powder in a mixing bowl.
- Spread the creamy mixture evenly across the seasoned chicken breasts.
Baking
- Prepare your baking dish by lightly greasing it, then arrange the coated chicken breasts in a single layer.
- Bake the chicken in the preheated oven until fully cooked and lightly golden.
- Check for doneness, ensuring the internal temperature reaches 165°F.
- Allow the chicken to rest after baking before serving.