There’s something genuinely comforting about preparing a good meal for yourself or loved ones, especially when it feels effortless yet satisfying. This recipe stands out, making it a reliable choice for busy weeknights, easy weekend meals, or small gatherings. With its simple preparations and familiar flavors, it brings people together in a quiet, enjoyable way. Let’s step into this recipe that embodies both comfort and practicality.
Why You’ll Love This Festive Copycat: Morton’s Chicken
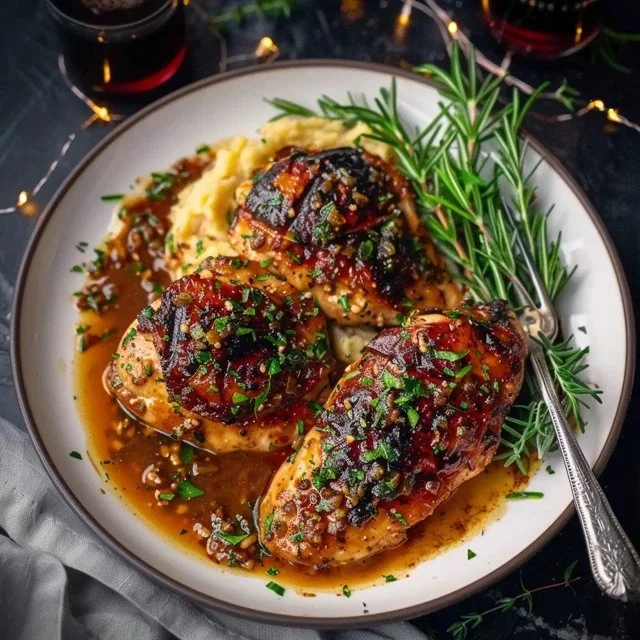
This dish offers ease and reliability, perfect for casual cooking. The balanced flavors, highlighted by tender chicken and a creamy sauce, deliver a comforting experience without being overly complicated. With the focus_keyword, it fits seamlessly into your everyday cooking habits, making it a delightful addition to your meal rotation.
Kitchen Tools You’ll Need
- Large skillet
- Mixing bowl
- Whisk
- Knife
- Cutting board
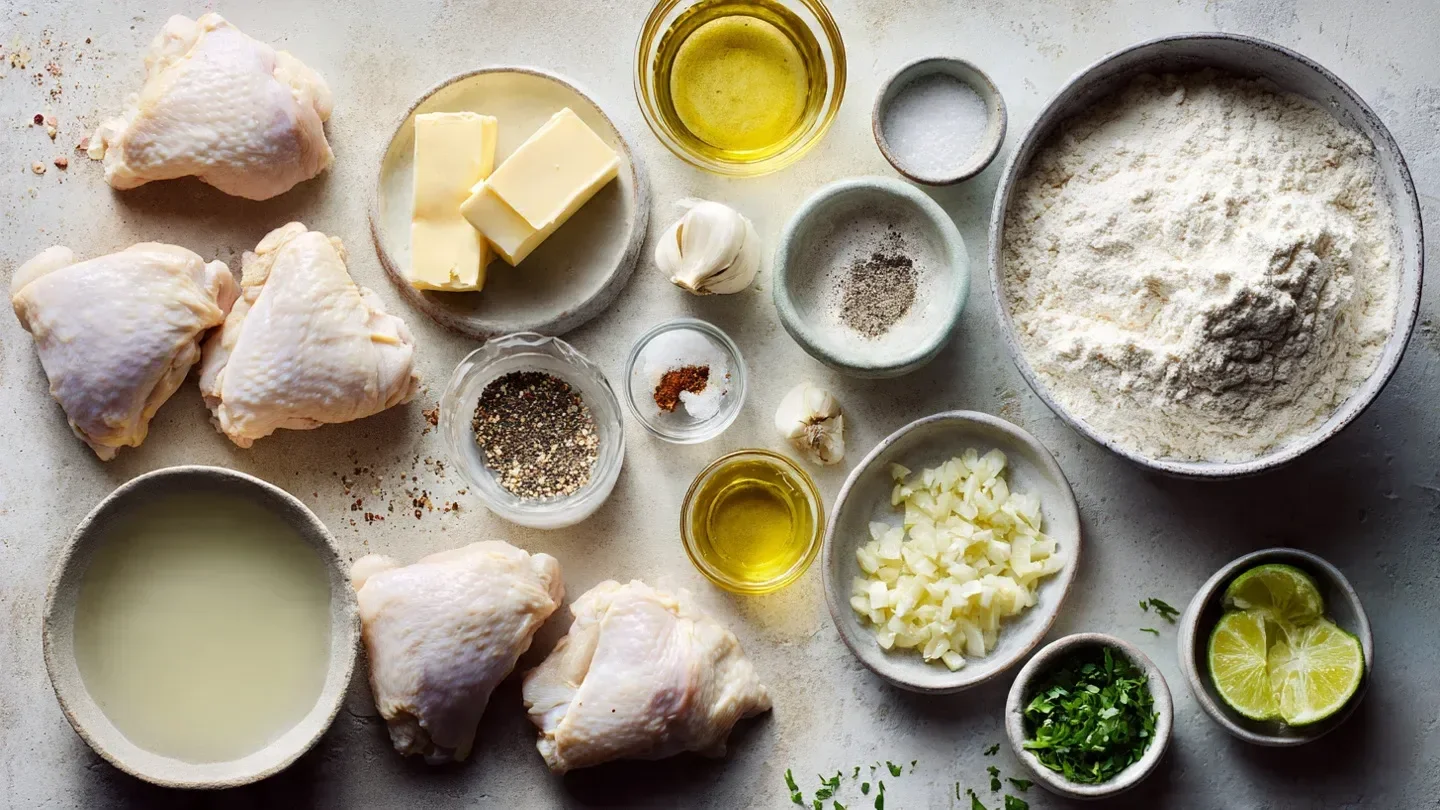
Ingredients
- 4 boneless, skinless chicken breasts (lean protein with tender texture)
- 1 cup plain all-purpose flour (provides a coating and structure)
- ½ teaspoon fine salt (enhances flavor)
- ½ teaspoon freshly ground black pepper (adds sharpness)
- 6 tablespoons unsalted butter, divided (adds richness and moisture)
- 2 tablespoons olive oil (helps with browning)
- 6 garlic cloves, finely minced (contributes strong aroma and flavor)
- ½ cup dry white wine (offers acidity and depth)
- ½ cup low-sodium chicken stock (adds moisture and flavor)
- ½ cup heavy whipping cream (creates a rich, creamy sauce)
- ¼ cup fresh parsley, finely chopped (provides freshness and color)
- Lemon wedges, for serving (adds brightness)
How to Make Festive Copycat: Morton’s Chicken
Step 1. Begin by preparing the chicken breasts. Pat each breast dry with paper towels, which helps create a nice sear when cooking. This step ensures the chicken will not steam in the pan. Sprinkle both sides with salt and pepper, as these seasonings will enhance the overall flavor of the dish.
Step 2. In a mixing bowl, whisk together the all-purpose flour, salt, and black pepper. Dredging the chicken in this mixture will create a flavorful crust. Ensure the mixture is well combined to ensure an even coating on the chicken.
Step 3. Heat a large skillet over medium heat and add 3 tablespoons of the unsalted butter along with the olive oil. Once the butter has melted and begins to foam, it indicates that the pan is hot enough for cooking the chicken. The fat will help prevent sticking and promote browning.
Step 4. Carefully place the floured chicken breasts in the hot skillet. Cook for about 5 to 7 minutes on each side until they are golden brown and have developed a nice crust. This visual cue shows they will be flavorful and well-cooked.
Step 5. After the chicken has browned nicely, remove it from the skillet and set it aside on a plate. Allowing it to rest maintains its juices and prevents it from drying out. This step is essential for achieving tender chicken.
Step 6. In the same skillet, add the remaining 3 tablespoons of unsalted butter and the minced garlic. Sauté the garlic for 1 to 2 minutes until it’s fragrant and lightly golden. This sounds simple but deeply enhances the dish’s flavor profile.
Step 7. Pour in the dry white wine, scraping up any brown bits on the bottom of the skillet. This deglazing step releases flavorful morsels that will contribute depth to your sauce. Allow the wine to simmer for 2 to 3 minutes, slightly reducing its volume.
Step 8. Add the low-sodium chicken stock to the skillet, stirring well to incorporate all flavors. As the stock heats, you’ll notice the smell becoming more fragrant. Bring the mixture back to a simmer.
Step 9. Lower the heat and pour in the heavy whipping cream, stirring until completely combined. The sauce will thicken slightly, and its creamy texture will coat the chicken beautifully. Allow it to simmer gently for a few minutes to meld the flavors together.
Step 10. Return the chicken to the skillet and simmer for an additional 5 minutes, ensuring the chicken is heated through. The chicken will absorb some of the sauce, enhancing its flavor and creating a cohesive dish.
Step 11. Finally, sprinkle the chopped parsley over the chicken before serving. This will add a fresh touch and vibrant color to the dish, making it visually appealing.
Step 12. Serve immediately with lemon wedges on the side. The bright acidity of the lemon adds a delightful contrast to the richness of the dish, enhancing the overall flavor experience.
Serving Suggestions
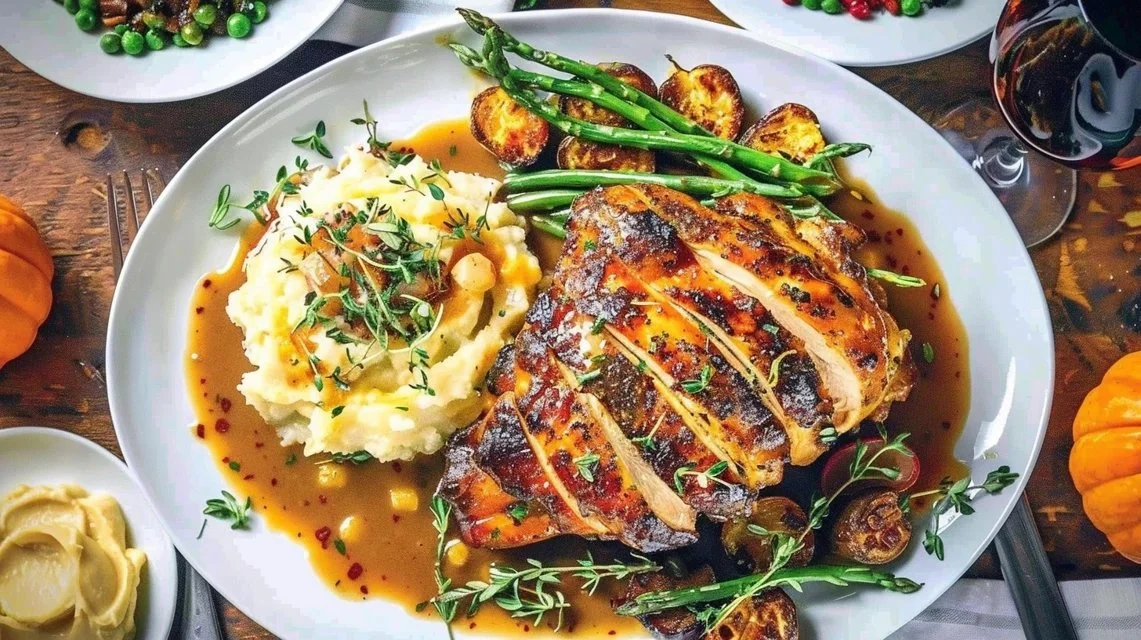
This recipe can shine in various situations. Serve it for a delightful family dinner alongside steamed vegetables or mashed potatoes, making it a comforting weeknight meal. It can also make an appearance as part of a cozy weekend brunch spread. If you have leftovers, they can be enjoyed as a quick lunch with a side salad or even nestled in a wrap. The flavors hold up well, allowing for creative use throughout the week.
Pro Tips for Best Results
- Ensure the chicken breasts are evenly dried before seasoning and flouring for a better sear.
- Use a heavy skillet for even heat distribution and to create a nice crust on the chicken.
- Consider adjusting the garlic and wine based on your personal taste preferences.
- Let the sauce simmer gently to allow the flavors to truly blend together.
- Always taste and adjust seasoning before serving for balanced flavors.
- Allow cooked chicken to rest briefly before slicing to maintain juiciness.
Common Mistakes to Avoid
- Overcrowding the skillet can lead to steaming instead of browning. Cook in batches if necessary.
- Not allowing the chicken to rest can result in dry meat. Give it a few minutes before cutting.
- Skipping the deglazing step misses out on adding deep flavor to the sauce.
- Cooking the sauce on too high a heat can cause it to separate or become too thick. Keep it gentle.
- Forgetting to season the chicken before flouring can lead to bland results. Proper seasoning is key.
- Not tasting the sauce before serving may result in unbalanced flavors. Always check for seasoning.
Variations & Substitutions
You might consider adding capers or sun-dried tomatoes to the sauce for an extra layer of flavor. For a lighter touch, swap the heavy cream for a lighter alternative, keeping in mind it may change the sauce’s consistency. Alternatively, you can use chicken thighs instead of breasts for a richer flavor and more moisture.
Storage & Reheating
Store any leftovers at room temperature for up to two hours after cooking; beyond that, refrigerate. Once cooled, keep the chicken in an airtight container in the refrigerator for up to three days. For longer preservation, freeze the chicken in a freezer-safe bag for up to three months. Reheat gently in a skillet over low heat, adding a splash of chicken stock or cream if the sauce has thickened.
Frequently Asked Questions
Can I make this recipe ahead of time?
Yes, you can prepare the sauce ahead of time and store it separately from the chicken until ready to serve. This allows the flavors to meld well and makes for easier weekday dinners.
How long does it last in the fridge?
The dish can last about three days in the fridge when stored properly in an airtight container, allowing you to enjoy it over several meals.
Can I freeze this recipe?
Yes, it’s suitable for freezing, but it’s best to freeze the chicken and sauce separately to maintain quality.
What can I substitute for one ingredient?
If you don’t have dry white wine, you can use additional chicken stock or a splash of vinegar for acidity in the sauce, though it may slightly alter the flavor.
Why didn’t my recipe turn out as expected?
Common reasons include overcooking the chicken, which can lead to dryness, or improper seasoning of the flour mixture. Always check the texture and flavor at each step for the best results.
Final Thoughts
Cooking this recipe is a delightful experience that combines straightforward preparations with comforting flavors. The rich, creamy sauce and tender chicken make for a satisfying meal that can be enjoyed in many settings. It’s a recipe that many will return to, finding it as comforting as it is easy to prepare. Enjoy the small moments of cooking as you bring this comforting dish to your table.

Morton’s Chicken
Ingredients
Main Ingredients
- 4 pieces boneless, skinless chicken breasts Lean protein with tender texture
- 1 cup plain all-purpose flour Provides a coating and structure
- ½ teaspoon fine salt Enhances flavor
- ½ teaspoon freshly ground black pepper Adds sharpness
- 6 tablespoons unsalted butter, divided Adds richness and moisture
- 2 tablespoons olive oil Helps with browning
- 6 cloves garlic, finely minced Contributes strong aroma and flavor
- ½ cup dry white wine Offers acidity and depth
- ½ cup low-sodium chicken stock Adds moisture and flavor
- ½ cup heavy whipping cream Creates a rich, creamy sauce
- ¼ cup fresh parsley, finely chopped Provides freshness and color
- Lemon wedges for serving Lemon wedges Adds brightness
Instructions
Preparation
- Begin by preparing the chicken breasts. Pat each breast dry with paper towels, which helps create a nice sear when cooking.
- Sprinkle both sides with salt and pepper.
- In a mixing bowl, whisk together the all-purpose flour, salt, and black pepper.
Cooking
- Heat a large skillet over medium heat and add 3 tablespoons of unsalted butter along with the olive oil.
- Carefully place the floured chicken breasts in the hot skillet. Cook for about 5 to 7 minutes on each side until golden brown.
- Remove the chicken from the skillet and set aside to rest.
- In the same skillet, add the remaining 3 tablespoons of unsalted butter and the minced garlic. Sauté for 1 to 2 minutes until fragrant.
- Pour in the dry white wine, scraping up brown bits from the skillet, and allow to simmer for 2 to 3 minutes.
- Add the low-sodium chicken stock, stirring well, and bring back to a simmer.
- Lower the heat and pour in the heavy whipping cream, stirring until completely combined.
- Return the chicken to the skillet and simmer for an additional 5 minutes.
- Sprinkle the chopped parsley over the chicken before serving.
- Serve immediately with lemon wedges on the side.