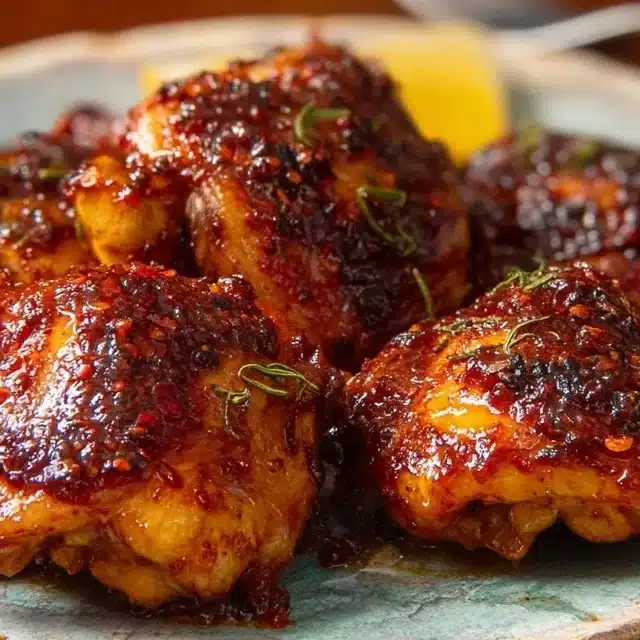

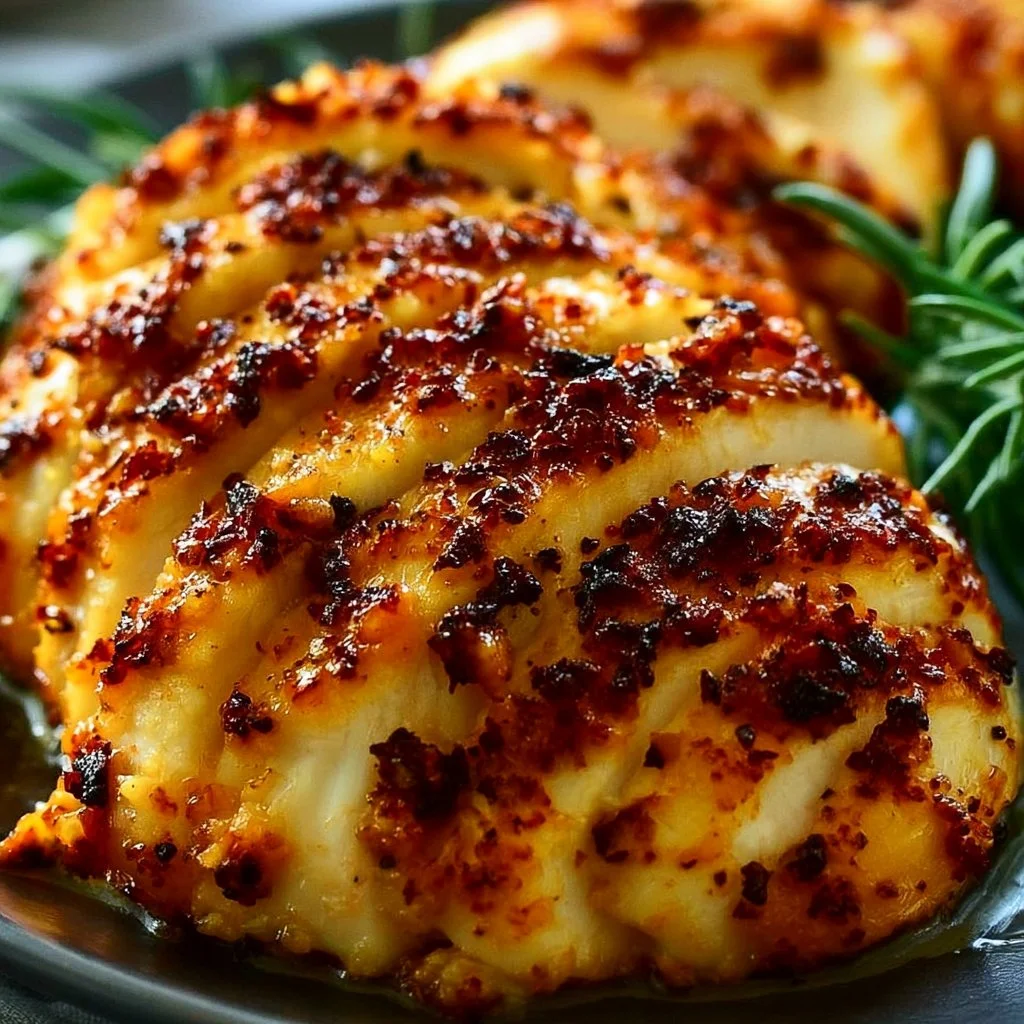
After a busy day, it’s often nice to prepare a simple meal that brings a sense of comfort. This chicken breast dish is straightforward and satisfying, making it perfect for weeknights or gatherings alike. The flavors come together beautifully, offering a reliable option for family meals, quick lunches, or even quiet moments at home. You’ll find it’s easy to whip up and enjoy without a lot of fuss. Let’s dive into making this delightful recipe.
Why You’ll Love This Melt In Your Mouth Chicken Breast
This recipe is all about ease and reliability, offering comfort with balanced flavors that please a crowd. It’s practical for everyday cooking, striking a nice balance between simplicity and taste. With each bite, you’ll appreciate how straightforward it is to prepare, making it a go-to dish for both special occasions and ordinary days.
Kitchen Tools You’ll Need
- Skillet
- Baking dish
- Tongs
- Measuring spoons
- Cutting board
- Knife
Ingredients
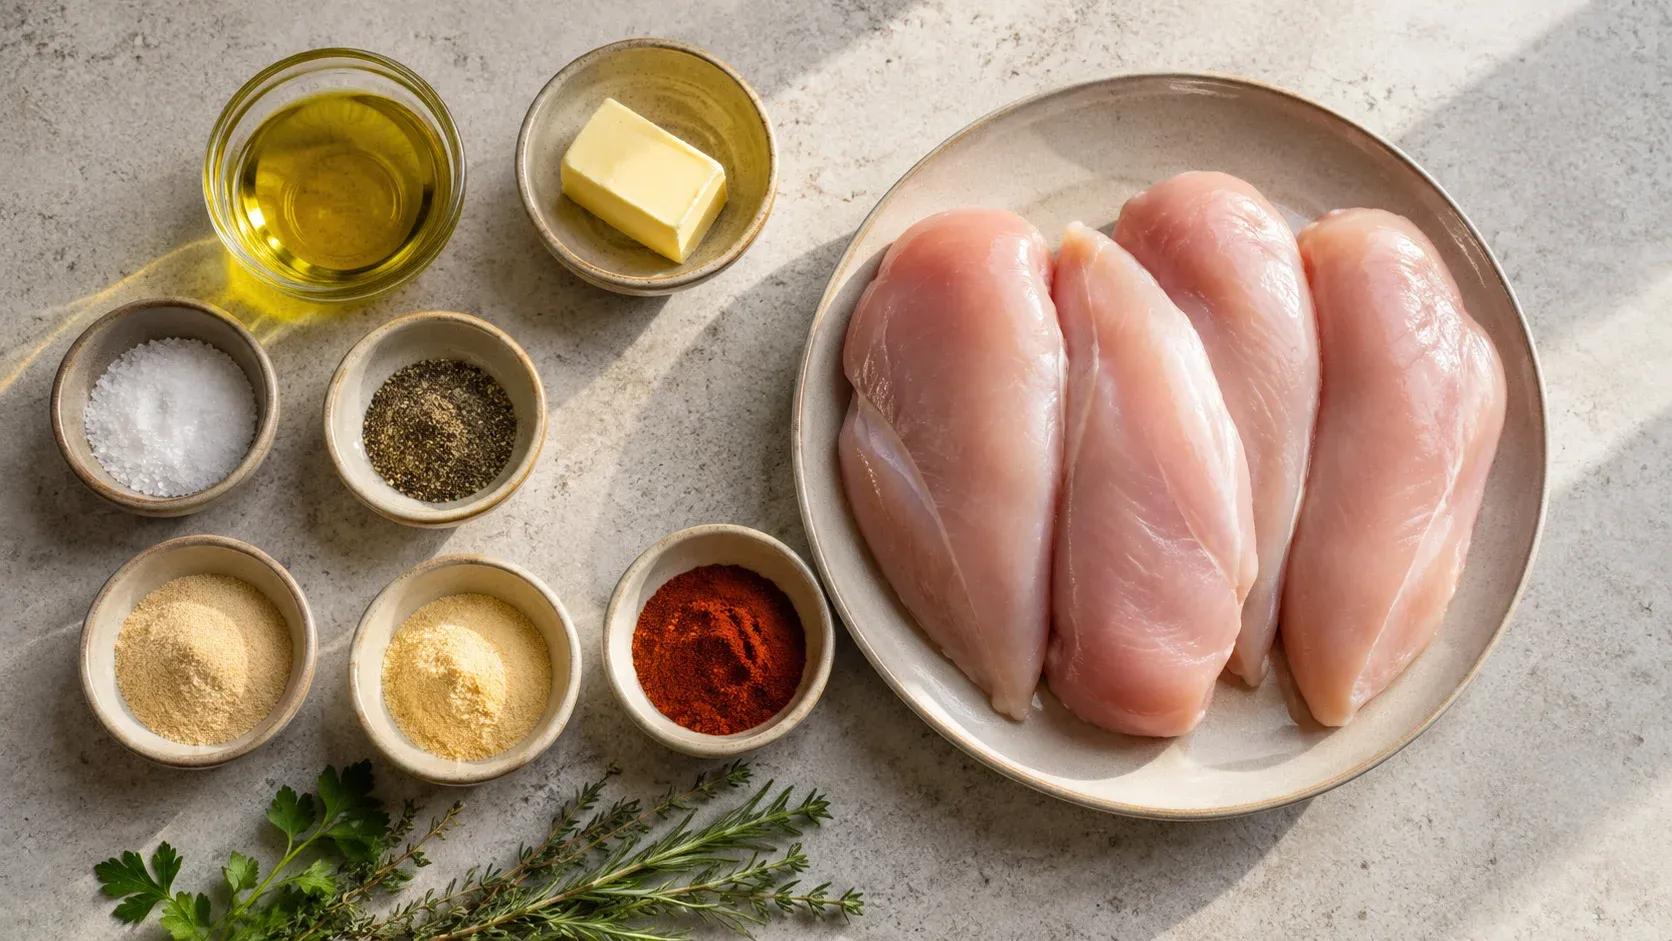
- 4 chicken breasts (moist protein base)
- 1 teaspoon salt (enhances flavor)
- 1/2 teaspoon black pepper (adds mild heat)
- 2 tablespoons olive oil (provides moisture)
- 1 teaspoon garlic powder (offers savory aroma)
- 1 teaspoon onion powder (delivers sweetness)
- 1 teaspoon paprika (contributes a mild smokiness)
- 1 tablespoon butter (adds richness)
- Fresh herbs (optional, for garnish)
How to Make Melt In Your Mouth Chicken Breast
Step 1. Begin by preheating your oven to 375°F. This step is essential because it allows the chicken to cook evenly throughout, ensuring a tender and moist result.
Step 2. Season the chicken breasts generously with salt, black pepper, garlic powder, onion powder, and paprika. This spice blend brings depth of flavor and enhances the chicken during cooking.
Step 3. In a skillet, heat the olive oil and butter over medium heat until it becomes hot and bubbly. You’ll know it’s ready when the butter has melted and is just beginning to foam, creating a flavorful base for searing.
Step 4. Carefully place the seasoned chicken breasts into the skillet. Sear them for about 5 minutes on each side until they develop a golden brown crust. This browning adds texture and flavor, creating a delicious exterior.
Step 5. Once browned, transfer the seared chicken breasts to a baking dish. This step is crucial as it helps to continue cooking the chicken without drying it out, allowing the heat to circulate evenly.
Step 6. Bake the chicken in the preheated oven for about 20 minutes, or until it is cooked through. The meat should be firm but still juicy. It’s best to use a meat thermometer to ensure it has reached an internal temperature of 165°F, ensuring safe consumption.
Step 7. After baking, let the chicken rest for a few minutes before serving. This resting period allows the juices to redistribute, which helps maintain a moist texture. If desired, garnish with fresh herbs right before serving for a touch of brightness.
Serving Suggestions
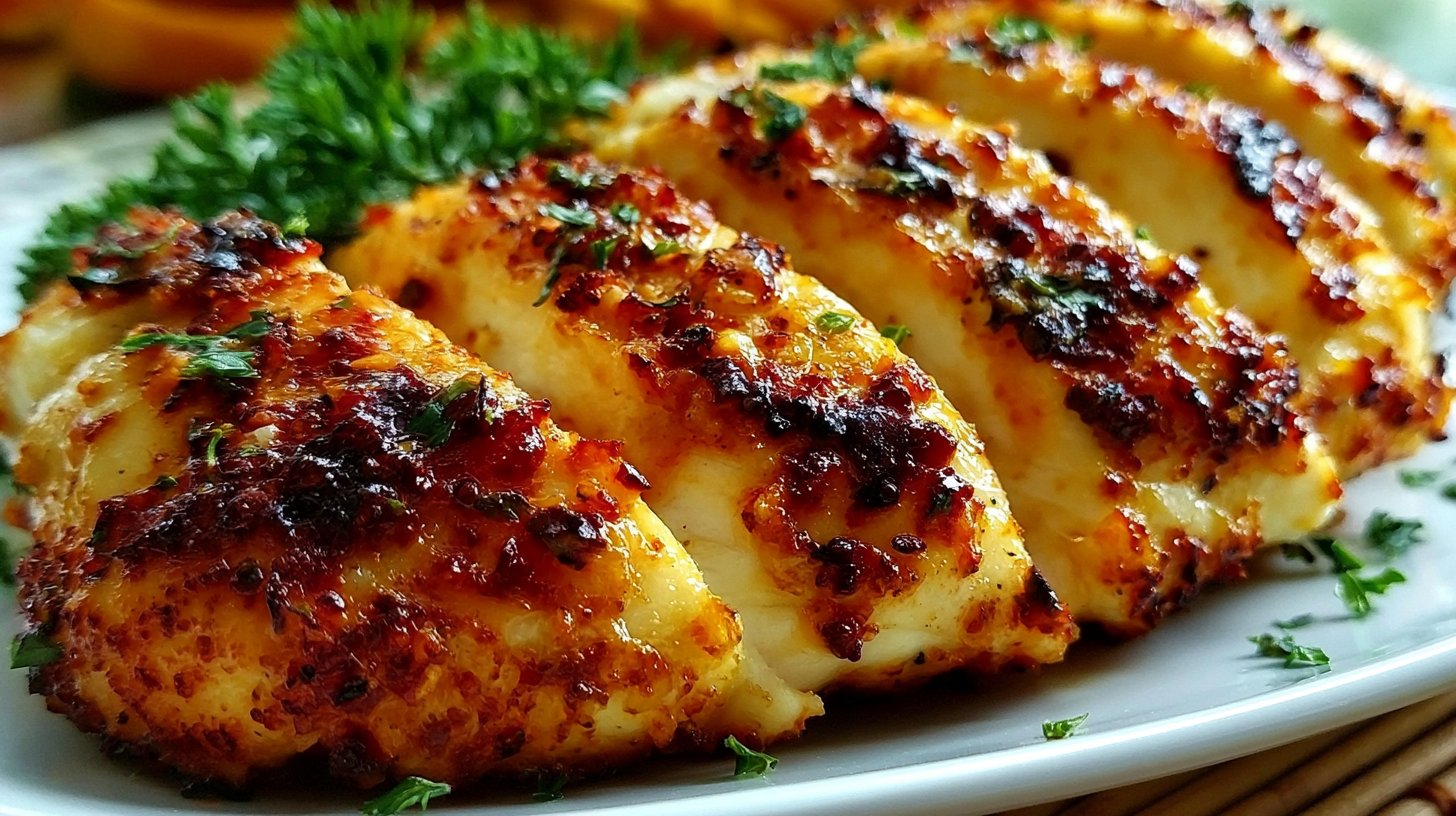
This chicken dish can stand alone as a hearty meal or be paired with various sides for a complete dinner. Serve it alongside steamed vegetables or a fresh salad for a balanced family meal. Leftover chicken can be diced into salads or wraps for satisfying lunches. It also makes a great addition to grain bowls, providing protein and flavor to help kickstart your day.
Pro Tips for Best Results
- Ensure that the skillet is hot enough before adding the chicken to achieve a nice sear.
- Allow the chicken to rest after cooking; this step is key to keeping it moist.
- Keep the seasoning simple to highlight the natural flavor of the chicken.
- If using a meat thermometer, aim for 165°F to guarantee doneness.
- Don’t crowd the skillet when searing; this helps maintain temperature.
Common Mistakes to Avoid
- Not preheating the skillet. If the skillet isn’t hot enough, the chicken won’t sear properly, leading to a lack of flavor. Always give the oil and butter time to heat.
- Skipping the rest period. Slicing into the chicken immediately after cooking can cause the juices to run out. Letting it rest helps retain moisture.
- Overcrowding the skillet. Placing too many breasts in the pan can prevent proper browning. Work in batches if needed to ensure each piece gets the heat it requires.
- Ignoring internal temperature. Not checking internal doneness can result in undercooked chicken. Always use a thermometer to confirm it’s reached 165°F.
- Not seasoning enough. Under-seasoning can lead to bland chicken. Make sure to generously season the chicken to enhance its natural flavors.
- Baking for too long. Overbaking can dry out the chicken. Aim for 20 minutes and check for doneness to practice precision.
Variations & Substitutions
You could adjust the spices to match your preference, perhaps using dried herbs or a different seasoning blend. For a spicier kick, a pinch of cayenne pepper could be mixed in with the other spices. Though this recipe is formatted simply, feel free to swap the cooking fat, using just olive oil instead of a combination with butter.
Storage & Reheating
Leftover chicken should be stored at room temperature if consuming within a couple of hours. For longer storage, place it in an airtight container in the refrigerator, where it’s best enjoyed within three days. If you need to freeze it, ensure it’s sealed well to prevent freezer burn. When reheating, use the oven to maintain its texture, warming at a low temperature to gently bring it back to life without drying it out.
Frequently Asked Questions
Can I make this recipe ahead of time?
Yes, you can cook the chicken ahead of time. It stays well in the refrigerator for a few days and can be served cold or reheated.
How long does it last in the fridge?
The cooked chicken can last for up to three days in the fridge when stored properly in an airtight container.
Can I freeze this recipe?
Certainly! The chicken can be frozen for longer storage. Just make sure it’s well-wrapped to avoid freezer burn, and enjoy within three months for the best flavor.
What can I substitute for one ingredient?
If you find yourself missing a spice, like paprika, you can either omit it or replace it with a small amount of chili powder for a different flavor profile.
Why didn’t my recipe turn out as expected?
There can be various factors, like incorrect cooking times or temperatures. Make sure to check for doneness with a meat thermometer and follow the steps closely.
Final Thoughts
Making Melt In Your Mouth Chicken Breast is not just about the final dish; it’s an experience of enjoying practical cooking with comforting results. As you gather around the table, the simple flavors and tender meat create an inviting meal. Trust in these straightforward steps to guide you in the kitchen, and enjoy the process as much as the product. Happy cooking!
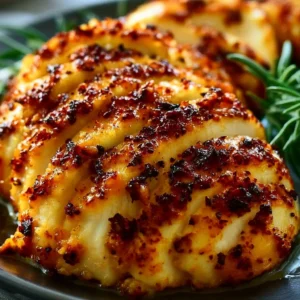
Melt In Your Mouth Chicken Breast
Ingredients
Main Ingredients
- 4 pieces chicken breasts moist protein base
- 1 teaspoon salt enhances flavor
- 1/2 teaspoon black pepper adds mild heat
- 2 tablespoons olive oil provides moisture
- 1 teaspoon garlic powder offers savory aroma
- 1 teaspoon onion powder delivers sweetness
- 1 teaspoon paprika contributes a mild smokiness
- 1 tablespoon butter adds richness
- Fresh herbs optional, for garnish
Instructions
Preparation
- Preheat your oven to 375°F.
- Season the chicken breasts generously with salt, black pepper, garlic powder, onion powder, and paprika.
Cooking
- In a skillet, heat the olive oil and butter over medium heat until hot and bubbly.
- Carefully place the seasoned chicken breasts into the skillet and sear for about 5 minutes on each side until golden brown.
- Transfer the seared chicken breasts to a baking dish.
- Bake in the preheated oven for about 20 minutes, or until the chicken is cooked through.
- Let the chicken rest for a few minutes before serving.