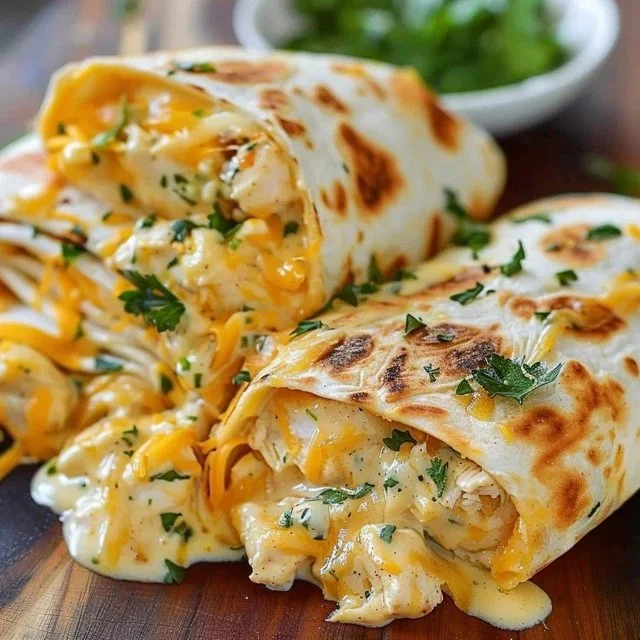
There’s something satisfying about a simple dish that brings a bit of warmth to any meal—especially after a busy day. Whether you’re winding down on a weeknight, enjoying a cozy weekend with family, or hosting a gathering, these wraps offer comfort in every bite. With their gooey cheese and savory garlic, they strike the perfect balance between indulgence and practicality. Let’s dive into making these delightful wraps that promise to be a hit at any table.
Why You’ll Love This Ooey-Gooey Cheesy Garlic Chicken Wraps
These wraps are incredibly easy and reliable, making them perfect for any occasion. The combination of melted mozzarella and cheddar cheeses creates a comforting blend of flavors that pair wonderfully with the tender chicken and garlic. The practical nature of this recipe allows for flexibility, whether it’s a family dinner or a late-night snack. You can count on these cheesy garlic chicken wraps to bring satisfaction to your everyday meals.
Kitchen Tools You’ll Need
- Large skillet
- Mixing bowl
- Wooden spoon or spatula
- Knife
- Cutting board
- Serving plate
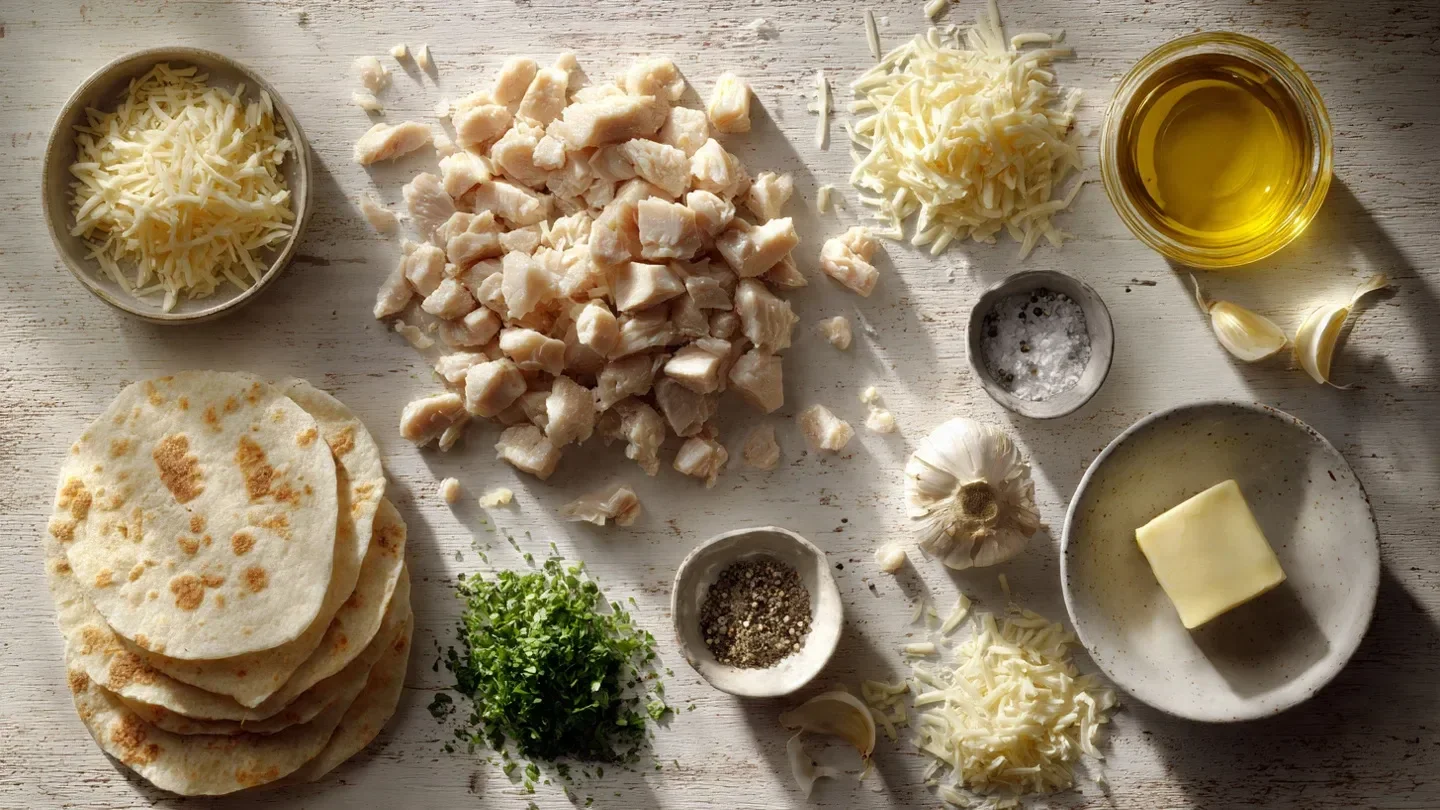
Ingredients
- 2 cups chicken breast (cooked, diced) (provides protein and moisture)
- 4 cloves garlic (minced) (adds aroma and savory flavor)
- 1 tablespoon olive oil (helps in sautéing and adds richness)
- 1 cup shredded mozzarella cheese (provides stretch and creaminess)
- 1 cup shredded cheddar cheese (adds sharpness and depth)
- 4 medium flour tortillas (holds everything together)
- 1 tablespoon butter (enhances flavor and adds richness)
- 1 tablespoon chopped parsley (optional) (adds freshness and color)
- Salt and black pepper (to taste) (seasoning for balance)
How to Make Ooey-Gooey Cheesy Garlic Chicken Wraps
Step 1. Begin by heating the olive oil in a large skillet over medium heat. Add the minced garlic to the skillet, stirring it gently for about a minute until it becomes fragrant. This process not only softens the garlic but also brings out its rich, savory notes. Watch for the garlic’s color to turn lightly golden; this is your cue to move to the next step.
Step 2. Once the garlic is fragrant, add the cooked, diced chicken to the skillet. Stir the chicken pieces together with the garlic, ensuring they are well-coated in the oil. This step helps the chicken absorb the flavors of the garlic as everything heats up. Continue to stir for a few minutes until the chicken is heated through and flavorful.
Step 3. After the chicken is warmed, reduce the heat to low and sprinkle both the mozzarella and cheddar cheese over the chicken mixture. Allow the cheeses to melt gradually, stirring occasionally to create a gooey, cheesy texture. Keep an eye on the cheese until it’s completely melted and combined with the chicken, creating a creamy filling.
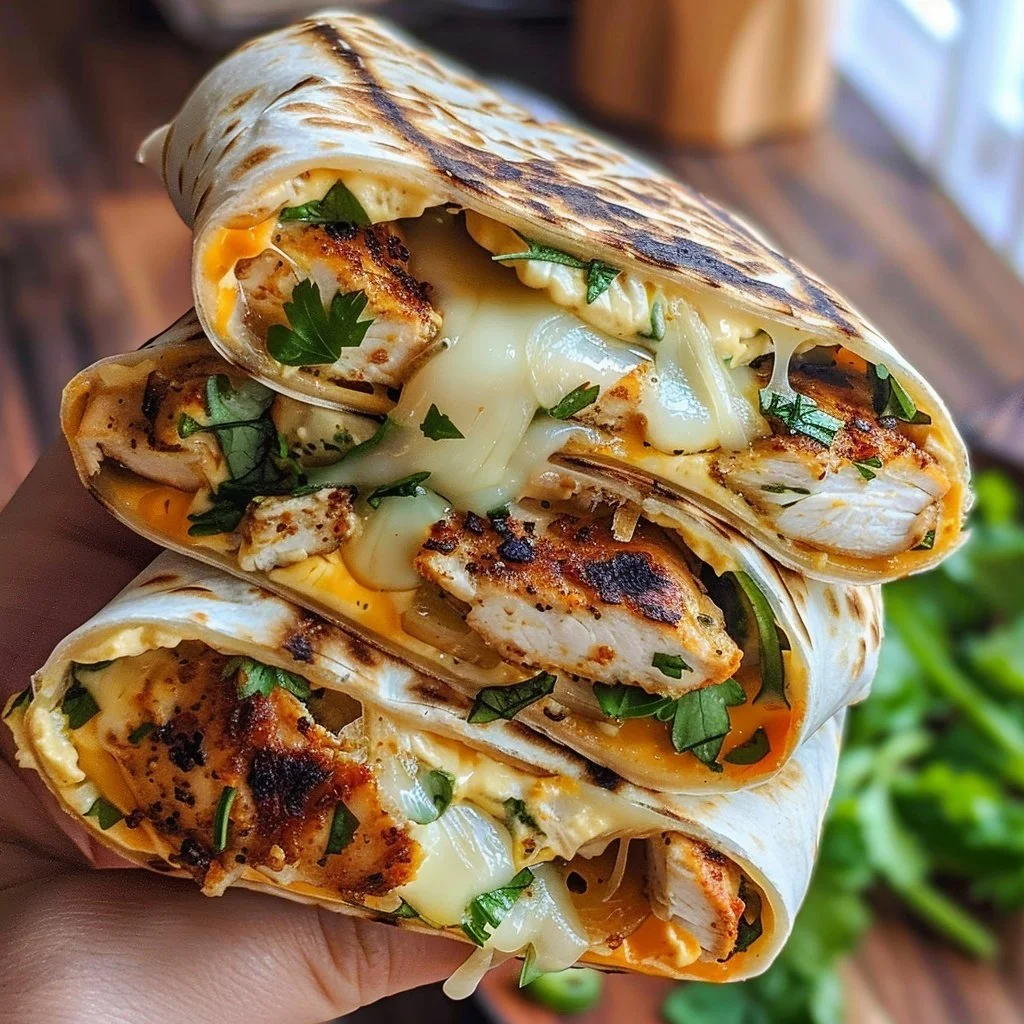
Step 4. While the cheese is melting, take each flour tortilla and spoon a generous portion of the cheesy chicken mixture into the center of the tortilla. Make sure to leave enough space at the edges to fold the wrap securely. This will ensure each bite is filled with that delicious ooey-gooey goodness.
Step 5. Carefully fold the sides of the tortilla over the filling, then roll it up tightly from the bottom. This helps keep the mixture sealed inside, making it easier to handle and eat. Ensuring a firm wrap will help prevent the filling from spilling out while you cook and serve.
Step 6. In the same skillet, add the butter and place the wrapped tortillas seam-side down. Cook on medium heat for about 3-4 minutes until the tortillas are golden brown and crisp. This step gives the wraps a delightful texture as the outside becomes slightly crunchy, contrasting nicely with the creamy filling.
Step 7. Once the wraps are golden brown on the first side, carefully flip them over and cook for an additional 3-4 minutes. Continue to monitor the wraps, ensuring they achieve an even crispy finish. They should be pleasantly browned, and the cheese inside will be melting beautifully.
Step 8. Once both sides of the wraps are crispy and golden, transfer them to a serving plate. If desired, you can sprinkle the chopped parsley on top for a pop of color and freshness. Allow the wraps to cool slightly before serving—they’ll be hot and cheesy.
Serving Suggestions
These cheesy garlic chicken wraps are versatile and can be enjoyed at any time of day. Serve them for a filling breakfast paired with some scrambled eggs, or cut them into smaller pieces for savory snacks during movie night. They make a comforting family meal alongside a fresh salad or vegetable sides. Any leftovers can be reheated for a quick lunch, allowing you to savor the delicious flavors more than once.
Pro Tips for Best Results
- Make sure your chicken is well-seasoned before combining it with the garlic and cheese for enhanced flavor.
- If you prefer extra crispy wraps, you can use a bit more butter on the skillet—just keep an eye on the heat to avoid burning.
- Feel free to adjust the amount of cheese according to your taste; more cheese will create an even richer filling.
- Wrap the tortillas tightly to help contain the filling and prevent spills during cooking.
- If you have leftover filling, consider serving it with chips for a gooey dip experience.
Common Mistakes to Avoid
- Under-seasoning the filling: If you don’t add enough salt and pepper, the wraps can taste bland. Always taste the filling before wrapping it up to ensure it has the right flavor balance.
- Overcooking the garlic: Burning the garlic can lead to a bitter taste. Keep a close watch on it as it cooks, taking it off the heat as soon as it becomes fragrant and lightly colored.
- Using cold tortillas: Cold tortillas can break when rolled. Warm them briefly in the microwave or on the stove before filling to maintain flexibility.
- Filling too much: Overfilling the tortillas can make it difficult to roll them up securely. Stick to a moderate amount of filling for easier handling.
- Not allowing the cheese to melt fully: Skipping the melting step can lead to a less cohesive filling. Ensure the cheese is fully melted and combined with the chicken for the best texture.
- Using high heat when frying: Cooking on too high a heat can burn the tortilla while leaving the filling cold. Medium heat allows for an even golden color and a warm interior.
Variations & Substitutions
For a taste variation, consider adding some sautéed vegetables like bell peppers or spinach to the filling. You could also try different cheese combinations, such as pepper jack for some spice. For a lighter option, use whole grain or corn tortillas for the wraps, which add a different flavor and texture.
Storage & Reheating
Store any leftover wraps at room temperature for a few hours but move them to the refrigerator for longer storage. They can last in the fridge for up to three days. For freezing, wrap them tightly in plastic wrap or aluminum foil and place them in a freezer-safe container for up to a month. When you’re ready to reheat, place the wraps in a preheated oven at 350°F until warmed through to preserve their texture, or use a microwave, but be mindful that it may make them softer.
Frequently Asked Questions
Can I make this recipe ahead of time?
You can prepare the chicken and garlic mixture in advance, storing it in the fridge until ready to assemble the wraps. This makes the cooking process quicker when you’re ready to enjoy them.
How long does it last in the fridge?
These wraps can be stored in the fridge for up to three days. Just make sure they are kept in an airtight container to maintain freshness.
Can I freeze this recipe?
Yes, you can freeze the assembled wraps. Wrap them tightly in plastic wrap or foil before placing them in a freezer bag to keep them fresh for up to a month.
What can I substitute for one ingredient?
If you need to adjust the recipe, try using different cheeses based on your taste preference. For instance, gouda or monterey jack cheese can work well in place of the mozzarella or cheddar.
Why didn’t my recipe turn out as expected?
Common issues can stem from inadequate seasoning, burned garlic, or improperly melted cheese. Ensuring proper cooking techniques and seasoning can help achieve the desired outcome.
Final Thoughts
Making these cheesy garlic chicken wraps is a straightforward process that brings together comforting and familiar ingredients. The joy of assembling them, paired with the delightful warmth from the melting cheese, creates a satisfying meal or snack experience. Relax and enjoy these wraps, knowing they provide both ease and flavor for your table, inviting everyone to share in the deliciousness.

Cheesy Garlic Chicken Wraps
Ingredients
Main Ingredients
- 2 cups cooked, diced chicken breast provides protein and moisture
- 4 cloves garlic (minced) adds aroma and savory flavor
- 1 tablespoon olive oil helps in sautéing and adds richness
- 1 cup shredded mozzarella cheese provides stretch and creaminess
- 1 cup shredded cheddar cheese adds sharpness and depth
- 4 medium flour tortillas holds everything together
- 1 tablespoon butter enhances flavor and adds richness
- 1 tablespoon chopped parsley (optional) adds freshness and color
- Salt and black pepper to taste for seasoning
Instructions
Preparation
- Begin by heating the olive oil in a large skillet over medium heat.
- Add the minced garlic to the skillet, stirring gently for about a minute until fragrant.
- Add the cooked, diced chicken to the skillet, stirring it with the garlic until well-coated.
- Reduce the heat to low and sprinkle the mozzarella and cheddar cheese over the chicken mixture.
- Allow the cheeses to melt gradually while stirring occasionally.
Assembly
- Take each flour tortilla and spoon a generous portion of the cheesy chicken mixture into the center.
- Fold the sides of the tortilla over the filling, then roll it up tightly from the bottom.
Cooking
- In the same skillet, add the butter and place the wrapped tortillas seam-side down.
- Cook on medium heat for about 3-4 minutes until golden brown and crisp.
- Carefully flip them over and cook for an additional 3-4 minutes.
Serving
- Transfer the wraps to a serving plate and sprinkle with chopped parsley if desired.
- Allow the wraps to cool slightly before serving.