Why You’ll Love This Single Serving Fluffy Baked Protein Pancake Bowls
This recipe shines in its ease and reliability, allowing anyone to whip it up without fuss. The creamy texture paired with a hint of sweetness from the maple syrup and the comforting warmth of vanilla creates a balanced flavor profile. Plus, it’s practical for everyday life, offering good nutrition with its focus on whole ingredients. These Single Serving Fluffy Baked Protein Pancake Bowls can easily become part of your morning routine.
Kitchen Tools You’ll Need
- Mixing bowl
- Whisk or fork
- Measuring cups
- Baking dish or oven-safe bowl
- Oven
Ingredients
- 1 cup rolled oats (for texture and heartiness)
- 1 scoop protein powder (for added protein and richness)
- 1 teaspoon baking powder (to aid in fluffiness)
- 1 cup milk (or milk alternative, for moisture)
- 1 tablespoon maple syrup (optional, for sweetness)
- 1 teaspoon vanilla extract (for flavor)
- Pinch of salt (to enhance overall flavor)
How to Make Single Serving Fluffy Baked Protein Pancake Bowls
Step 1: Preheat your oven to 350°F. This temperature is essential for ensuring even cooking and for achieving the desired fluffy texture in your pancake bowl. While the oven heats up, you can prepare your other ingredients, which will help streamline the process.
Step 2: In a mixing bowl, combine the rolled oats, protein powder, baking powder, and a pinch of salt. Using a whisk or fork, mix these dry ingredients thoroughly until they are evenly blended. This step is crucial because it ensures that the baking powder is evenly distributed, allowing for consistent rising during baking.
Step 3: Next, add the milk and vanilla extract to the dry ingredients. Stir gently until everything is just combined. It’s important not to overmix, as this can lead to a denser end product. Watch for any dry patches of flour, making sure they are incorporated, but the batter should still have some texture to it.
Step 4: If you choose to add sweetness, drizzle in the maple syrup and mix it in until evenly dispersed. This step is optional; however, it adds a lovely depth of flavor and a hint of sweetness that complements the protein pancake bowl beautifully, contributing to the overall enjoyment of the dish.
Step 5: Lightly grease your baking dish or oven-safe bowl to prevent sticking. A small amount of oil or butter can work well here. This step is crucial because it ensures that your fluffy pancake can be easily removed after baking, keeping its shape intact.
Step 6: Pour the batter into the prepared dish, spreading it out evenly. As you pour, take care to fill the dish only to about three-quarters full to allow room for the pancake to rise. This ensures that it cooks evenly and has a fluffy texture rather than overflowing.
Step 7: Place the baking dish in the preheated oven and bake for approximately 20 to 25 minutes. Keep an eye on the pancake bowl as it bakes; you want it to rise and turn golden brown on top. A toothpick inserted into the center should come out clean or with a few moist crumbs.
Step 8: Once done, carefully remove the pancake bowl from the oven and let it cool for a few minutes. This cooling phase is important as it allows the pancake to set, making it easier to serve. You can enjoy it straight from the dish or turn it out onto a plate if desired.
Serving Suggestions
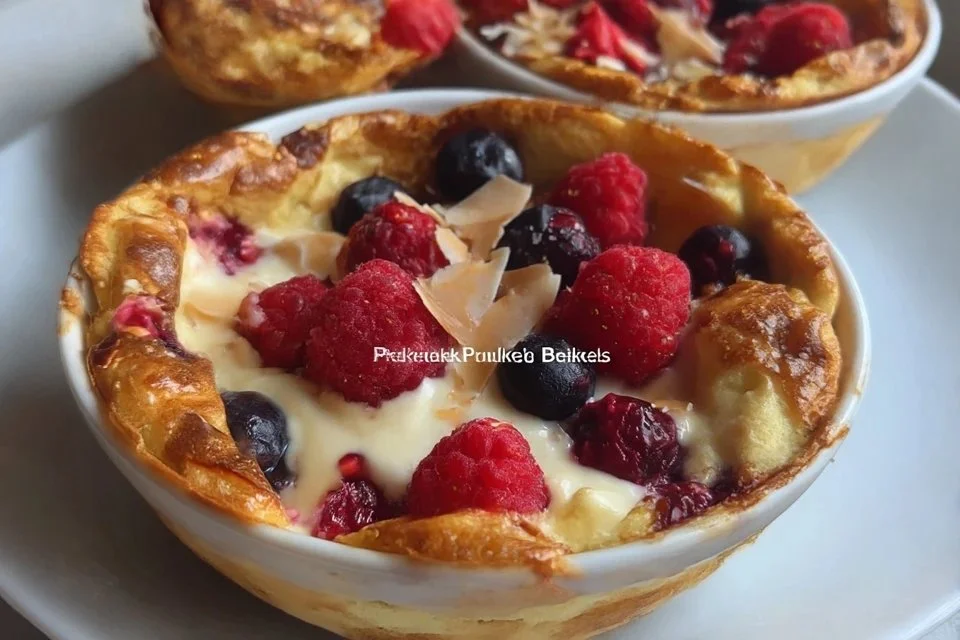
These pancake bowls are incredibly versatile and can be enjoyed for breakfast, as a mid-day snack, or even as a light dessert. Top them with fresh fruits like berries or banana slices, a dollop of yogurt, or a drizzle of honey for added flavor. Leftovers can be stored for future quick breakfasts, simply reheating as needed.
Pro Tips for Best Results
- For extra fluffiness, ensure all ingredients are at room temperature before mixing.
- If using flavored protein powder, adjust the amount of maple syrup accordingly.
- Experiment with different types of milk for varied flavor and texture.
- Serve immediately for the best texture, as they can become denser upon cooling.
- Top with nuts or seeds for added crunch and nutrition.
- Consider adding cinnamon or nutmeg for a warm, spiced flavor.
Common Mistakes to Avoid
- Overmixing the batter: This can develop gluten, resulting in a dense pancake bowl. Mix just until combined for a lighter texture.
- Incorrect oven temperature: Baking at the wrong temperature can affect rising. Always preheat to 350°F for optimal results and check with an oven thermometer if unsure.
- Skipping the greasing step: Not greasing the dish can lead to sticking. Always use a light layer of oil or butter to ensure easy release.
- Using stale ingredients: Old baking powder or expired protein powder can impact the pancake’s rise. Check expiry dates before baking.
- Not allowing it to cool: Cutting into the pancake bowl too soon can cause it to fall apart. Let it rest a few minutes to set.
- Overbaking: Leaving it in the oven too long dries it out. A toothpick test is best; if it comes out clean or with few crumbs, it’s ready.
Variations & Substitutions
- Add mashed banana or pumpkin puree for natural sweetness and flavor.
- Incorporate nuts or chocolate chips for added texture and taste.
- Substitute almond or coconut flour for a different flavor profile.
- Experiment with different protein powder flavors to suit your taste.
Storage & Reheating
You can store any leftovers at room temperature for up to two hours. For longer storage, refrigerate in an airtight container for up to three days. If you want to keep them longer, these pancakes can be frozen for up to three months. Reheat in the microwave for about 30 seconds, or in an oven at 350°F for 10-15 minutes, checking for warmth throughout to maintain a soft texture.
Nutrition Information
Nutrition values are estimates and may vary based on ingredients used.
Frequently Asked Questions
Can I make this recipe ahead of time?
Yes, you can prepare the dry ingredients and mix them with the wet ingredients the night before. Just store in the refrigerator and bake in the morning for a quick breakfast.
How long does it last in the fridge?
These pancake bowls will stay fresh in the refrigerator for about three days when stored in an airtight container.
Can I freeze this recipe?
Absolutely! You can freeze individual portions. Just wrap them well to prevent freezer burn and enjoy them for up to three months.
What can I substitute for one ingredient?
If you’re out of milk, you can use any milk alternative, or even yogurt thinned with a bit of water, which will still maintain the moisture needed for this recipe.
Why didn’t my recipe turn out as expected?
Common reasons can include using stale ingredients, incorrect baking temperatures, or not allowing the pancake to cool appropriately. Be sure to check your ingredients and measurements for the best results.
Final Thoughts
Making these Single Serving Fluffy Baked Protein Pancake Bowls is a straightforward yet rewarding experience. They provide a wholesome option for breakfast or as a snack throughout the day. With their satisfying texture and flavor, they quickly become a favorite. Don’t worry if it takes a couple of tries to perfect; enjoy the process and know that each attempt gets you closer to a delightful dish.

Single Serving Fluffy Baked Protein Pancake Bowls
Ingredients
Dry Ingredients
- 1 cup rolled oats for texture and heartiness
- 1 scoop protein powder for added protein and richness
- 1 teaspoon baking powder to aid in fluffiness
- 1 pinch salt to enhance overall flavor
Wet Ingredients
- 1 cup milk or milk alternative, for moisture
- 1 tablespoon maple syrup optional, for sweetness
- 1 teaspoon vanilla extract for flavor
Instructions
Preparation
- Preheat your oven to 350°F.
- In a mixing bowl, combine the rolled oats, protein powder, baking powder, and a pinch of salt. Mix these dry ingredients thoroughly.
- Add the milk and vanilla extract to the dry ingredients. Stir gently until combined.
- If desired, drizzle in the maple syrup and mix until evenly dispersed.
- Lightly grease your baking dish or oven-safe bowl.
- Pour the batter into the prepared dish, filling it only about three-quarters full.
Baking
- Place the baking dish in the preheated oven and bake for approximately 20 to 25 minutes.
- Check with a toothpick; it should come out clean or with a few moist crumbs.
Cooling and Serving
- Once done, remove from the oven and let cool for a few minutes.
- Serve straight from the dish or turn out onto a plate if desired.