


There’s something especially comforting about a dish that warms you up and satisfies your cravings all at once. Enjoying a creamy, cheesy dip is perfect after a busy day, during a relaxed weekend, or while hosting friends and family. This Keto Buffalo Chicken Dip embodies simplicity and comfort, with its rich flavors and smooth texture. Take a moment to immerse yourself in this uncomplicated recipe that promises to bring both ease and enjoyment to the table.
Why You’ll Love This Keto Buffalo Chicken Dip
This dip is not only easy to prepare but also delivers a comforting, balanced flavor that makes it a staple for any occasion. The creamy consistency combined with tangy notes makes it both satisfying and versatile, fitting perfectly into low-carb and gluten-free diets. Whether you’re snacking or serving this dish at a gathering, you’ll find it to be a reliable choice that everyone can enjoy.
Kitchen Tools You’ll Need
- Deep-dish pie plate
- Mixing bowl
- Spoon or spatula
Ingredients
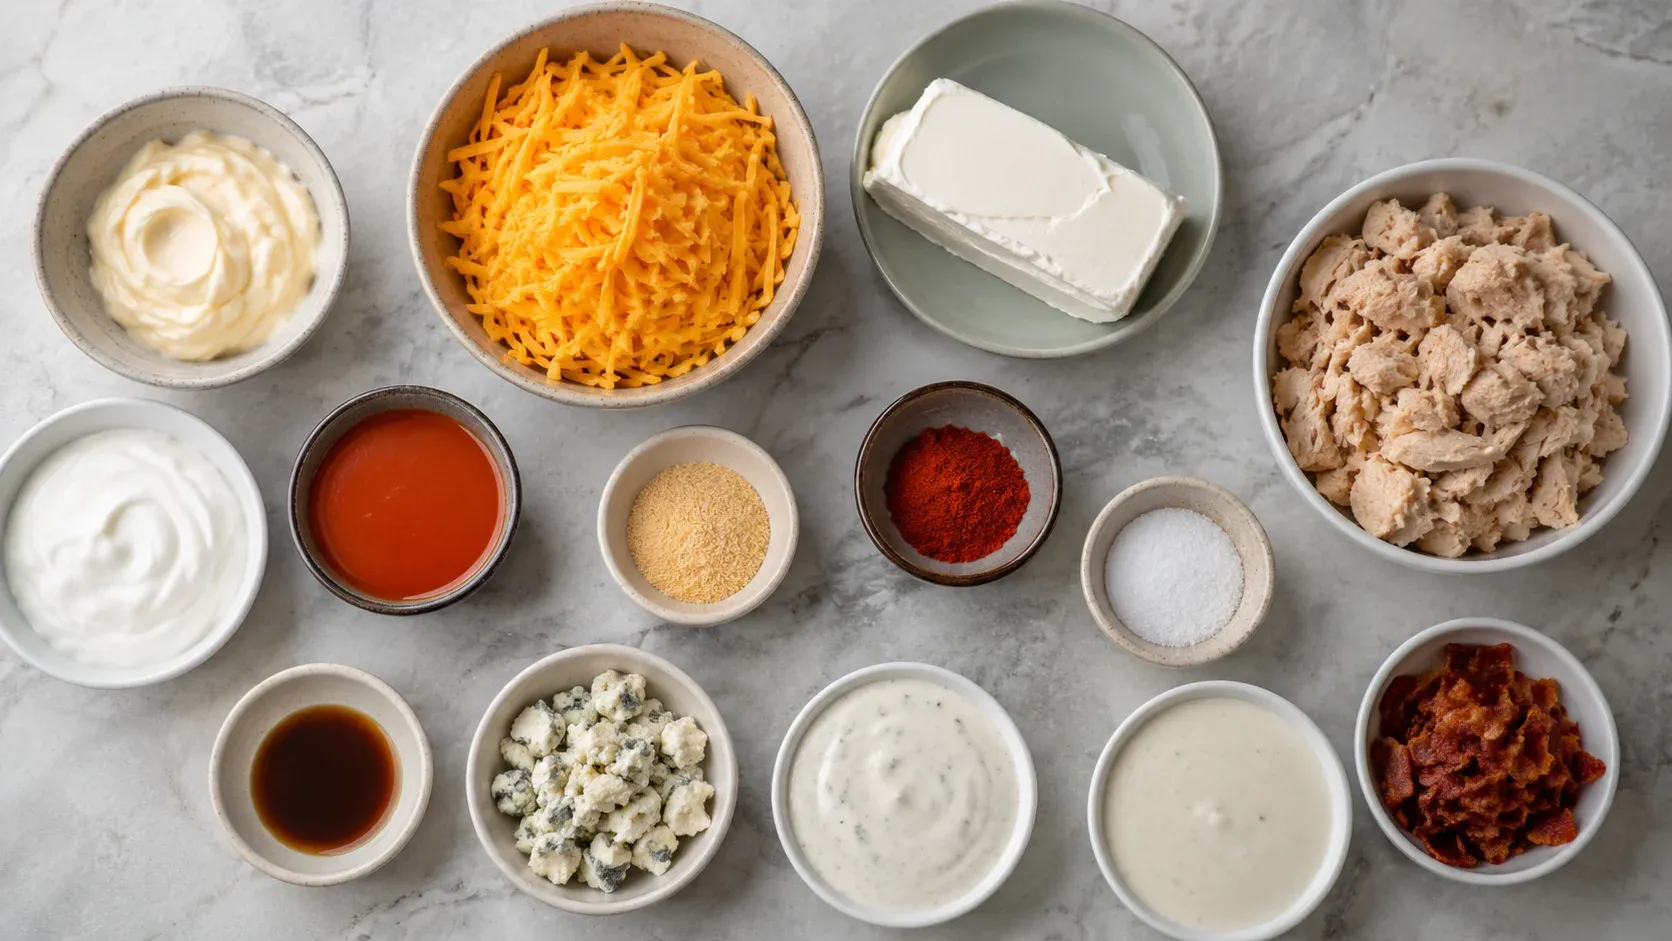
- 8 oz shredded cheddar (divided for layering)
- 8 oz cream cheese (provides creaminess)
- 1/2 cup mayo (adds richness)
- 1/2 cup sour cream (for tang and moisture)
- 2 tbsp hot sauce (for a spicy kick)
- 1 tsp garlic powder (adds savoriness)
- 1 tsp paprika (for a hint of sweetness)
- 1/2 tsp salt (enhances overall flavor)
- Dash Worcestershire (deepens flavor)
- 12.5 oz canned chicken (or shredded cooked chicken for texture)
- Optional Toppings: blue cheese dressing or ranch dressing (for added flavor), bacon crumbles (for crunch)
How to Make Keto Buffalo Chicken Dip
Step 1. Preheat your oven to 400°F. This step ensures that your dip cooks evenly and reaches that perfect bubbly texture. Preheating is a simple but essential step in any baking process, providing the right environment for your dish to cook well.
Step 2. In a mixing bowl, combine half of the shredded cheddar cheese with the remaining ingredients. This includes the cream cheese, mayonnaise, sour cream, hot sauce, garlic powder, paprika, salt, Worcestershire sauce, and canned chicken. It’s helpful to blend these ingredients thoroughly to achieve a smooth mixture that will hold together well when baked.
Step 3. Transfer the mixture into a deep-dish pie plate. This shape allows for even heat distribution, which is great for achieving that desired bubbling effect as it cooks. Ensure the mixture is spread evenly across the plate to promote uniform baking.
Step 4. Top the mixture with the remaining shredded cheddar cheese. The cheese will melt beautifully and create a deliciously gooey topping. Layering the cheese on top also helps to seal in the flavors and adds a delightful golden color as it bakes.
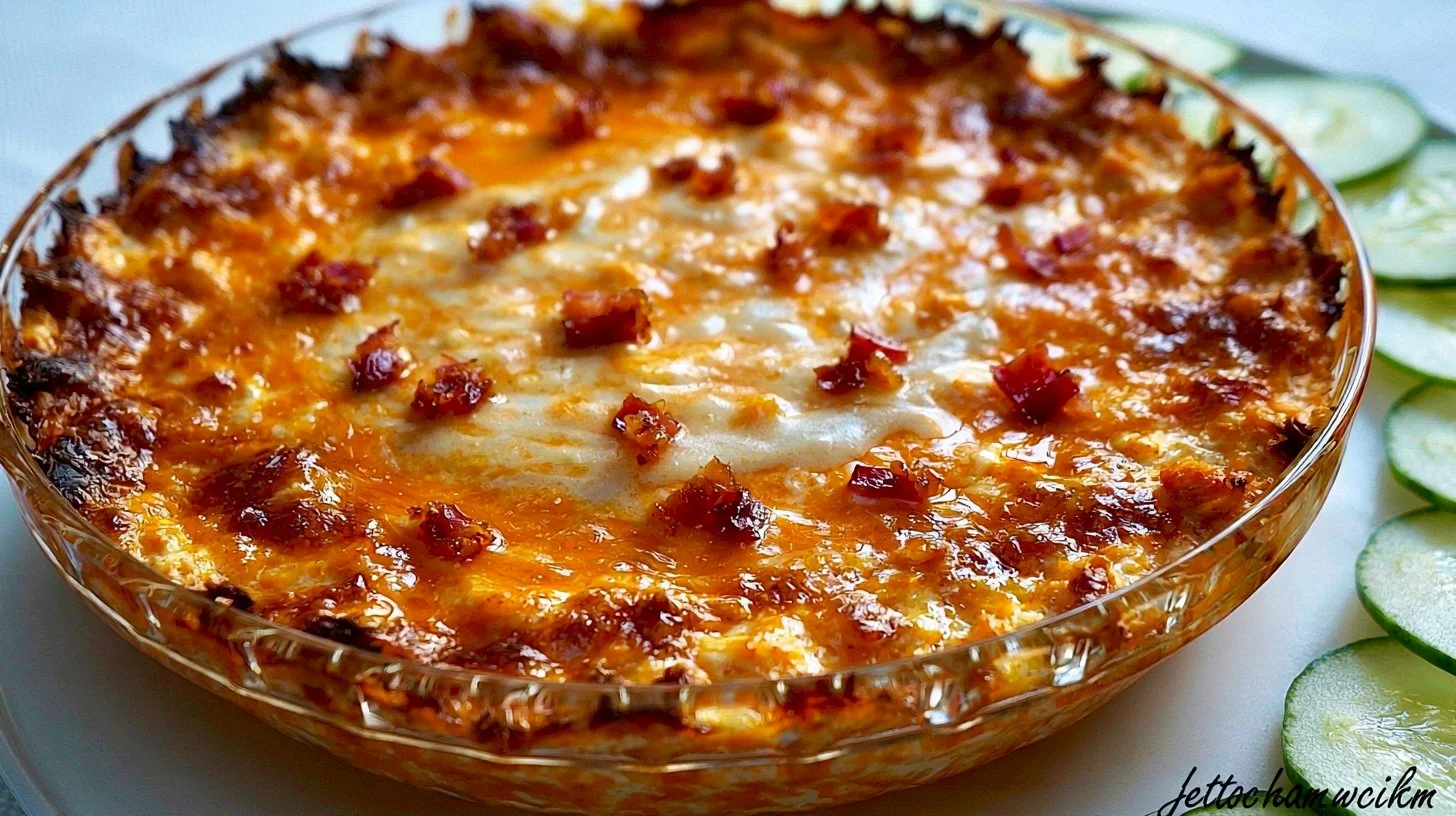
Step 5. Bake for 20-25 minutes until the dip is hot and bubbly. You’ll know it’s ready when the edges are golden and the center is steaming. Keeping an eye on it towards the end of the baking time can help you achieve the perfect level of doneness.
Step 6. For added flavor, drizzle some blue cheese or ranch dressing on top once it’s out of the oven, and sprinkle with bacon crumbles if desired. This step not only enhances the taste but also adds an appealing visual element that makes serving even more enticing.
Serving Suggestions
This dip shines in a variety of settings and can be enjoyed in numerous ways. Serve it as a quick breakfast option paired with fresh veggies or crusty bread. It’s also an excellent choice for snacks throughout the day or as a crowd-pleasing appetizer at family gatherings. Leftovers, if you have any, can be enjoyed later in the week, making it a practical dish for meal planning.
Pro Tips for Best Results
- Make sure to soften the cream cheese before mixing to ensure a smooth consistency.
- Mixing the dip thoroughly helps incorporate all flavors evenly.
- Adjust the hot sauce to match your preferred spice level.
- Let the dip sit for a few minutes after baking; this helps it set up a little more for easier serving.
- Keep a close watch during baking; ovens vary and your dip can go from perfect to overdone quickly.
- Experiment with toppings based on what you have on hand; variations can keep the dish fresh.
Common Mistakes to Avoid
- Not Preheating the Oven: Forgetting this crucial step can lead to uneven cooking. Always preheat to get the best results.
- Using Cold Cream Cheese: Cold cream cheese can create lumps in your dip. Soften it first for a smoother texture.
- Overbaking: Letting the dip bake too long can dry it out. Watch for bubbling edges and a golden top.
- Not Mixing Well: An unevenly mixed dip can lead to pockets of flavor or texture. Ensure everything is blended smoothly.
- Skipping Toppings: Toppings add flavor and presentation. Don’t skip them; they enhance the overall experience.
- Serving Too Soon: Allow the dip to cool slightly after baking. It will firm up a bit, making it easier to scoop.
Variations & Substitutions
To mix things up, consider using shredded rotisserie chicken instead of canned chicken for added flavor. You could also try incorporating different spices like cayenne for a more intense heat. If someone prefers a milder option, reduce the amount of hot sauce. For a healthy twist, consider using Greek yogurt in place of sour cream or mayo, bringing a tangy element to the dip while keeping it creamy.
Storage & Reheating
You can store the dip at room temperature for about two hours. If there are leftovers, keep them in an airtight container in the refrigerator for up to three days. For longer storage, freezing is possible, but it may alter the texture slightly. To reheat, place the dip back in the oven at a low temperature until warmed through, which helps maintain its creamy consistency.
Frequently Asked Questions
Can I make this recipe ahead of time?
Yes, you can prepare the dip ahead of time. Assemble the ingredients in the pie plate and cover it before refrigerating. Just bake it when you’re ready to serve.
How long does it last in the fridge?
The dip can be stored in the refrigerator for about three days. Make sure to keep it in an airtight container to maintain freshness.
Can I freeze this recipe?
Yes, you can freeze the dip, but doing so may change its texture upon reheating. For best results, use within a month.
What can I substitute for one ingredient?
If you’re looking to replace sour cream, Greek yogurt is a great alternative that offers a similar texture and tangy flavor.
Why didn’t my recipe turn out as expected?
Common issues may arise from overbaking or using cold ingredients. Ensure you mix well and keep an eye on the baking time to achieve the best results.
Final Thoughts
Making this Keto Buffalo Chicken Dip is a simple, enjoyable experience that brings delicious flavors right to your table. Its comforting texture and rich taste make it a standout at any gathering or during a quiet evening at home. No matter when you choose to enjoy it, this dip is sure to be a satisfying addition that you’ll return to again and again.

Keto Buffalo Chicken Dip
Ingredients
Main Ingredients
- 8 oz shredded cheddar cheese (divided for layering)
- 8 oz cream cheese provides creaminess
- 1/2 cup mayonnaise adds richness
- 1/2 cup sour cream for tang and moisture
- 2 tbsp hot sauce for a spicy kick
- 1 tsp garlic powder adds savoriness
- 1 tsp paprika for a hint of sweetness
- 1/2 tsp salt enhances overall flavor
- Dash Worcestershire sauce deepens flavor
- 12.5 oz canned chicken or shredded cooked chicken for texture
Optional Toppings
- blue cheese dressing or ranch dressing for added flavor
- bacon crumbles for crunch
Instructions
Preparation
- Preheat your oven to 400°F.
- In a mixing bowl, combine half of the shredded cheddar cheese with the remaining ingredients.
- Transfer the mixture into a deep-dish pie plate.
- Top the mixture with the remaining shredded cheddar cheese.
- Bake for 20-25 minutes until the dip is hot and bubbly.
- For added flavor, drizzle some blue cheese or ranch dressing on top once it’s out of the oven, and sprinkle with bacon crumbles if desired.