
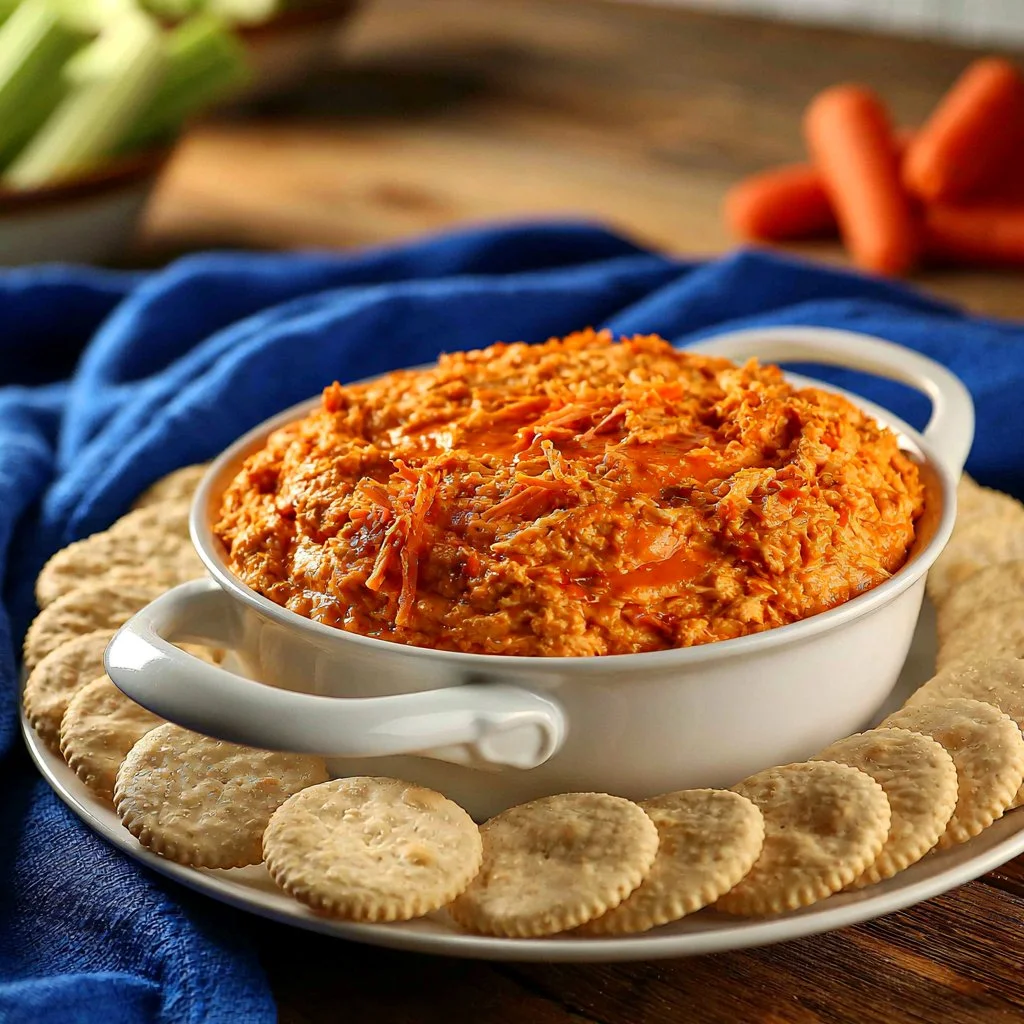
Coming home after a long day, it’s nice to have a go-to dish that feels simple yet satisfying. This Baked Buffalo Chicken Dip combines tender shredded chicken and creamy ingredients for a rich and comforting treat. It’s perfect for weeknights, casual gatherings, or those quiet moments when you want a delicious bite to enjoy. Its reliable blend of flavors can brighten any occasion, and making it is a breeze. Let’s dive into this comforting recipe.
Why You’ll Love This Baked Buffalo Chicken Dip
This recipe stands out for its ease and dependability. The creamy mixture offers a comforting texture paired with a balanced flavor that satisfies. With simple, familiar ingredients, it brings practical value to your everyday cooking. You can trust this dip to be a crowd-pleaser, whether for a casual snack or a special gathering.
Kitchen Tools You’ll Need
- 8″ × 8″ casserole dish
- Fork
- Large bowl
- Measuring cups
Ingredients
- 2 13-ounce cans chicken breast, drained (provides protein and moisture)
- 1/2 cup mayonnaise (adds creaminess)
- 1/2 cup gluten-free ranch dressing or gluten-free & dairy-free hot sauce (offers tanginess and consistency)
- 2 tablespoons gluten-free hot sauce or gluten-free & dairy-free hot sauce (provides heat and flavor)
How to Make Baked Buffalo Chicken Dip
Step 1. Preheat your oven to 350°F and prepare an 8″ × 8″ casserole dish by spraying it with gluten-free nonstick cooking spray. This helps prevent sticking and ensures your dip comes out easily after baking.
Step 2. In a large bowl, add the drained chicken breast. Use a fork to shred it into small pieces. Shredding the chicken helps it mix more thoroughly with the other ingredients and creates a more cohesive texture in the final dip.
Step 3. Add the mayonnaise, ranch dressing, and hot sauce to the shredded chicken. Stir everything together until well combined. You’re looking for a thick, creamy mixture with all the ingredients incorporated, which will give the dip its delightful flavor.
Step 4. Transfer the mixture to the prepared baking dish, spreading it out evenly. This ensures it bakes thoroughly and evenly, allowing for a consistent texture and temperature throughout.
Step 5. Bake the dish for 20 minutes in the preheated oven. You’ll know it’s ready when it starts to bubble around the edges and is heated through. This will create a nice consistency while enhancing the flavors.
Step 6. Once done, allow the dip to cool for about 5 minutes before serving. This slight cooling period helps the flavors settle and makes it easier to portion out for serving.
Serving Suggestions
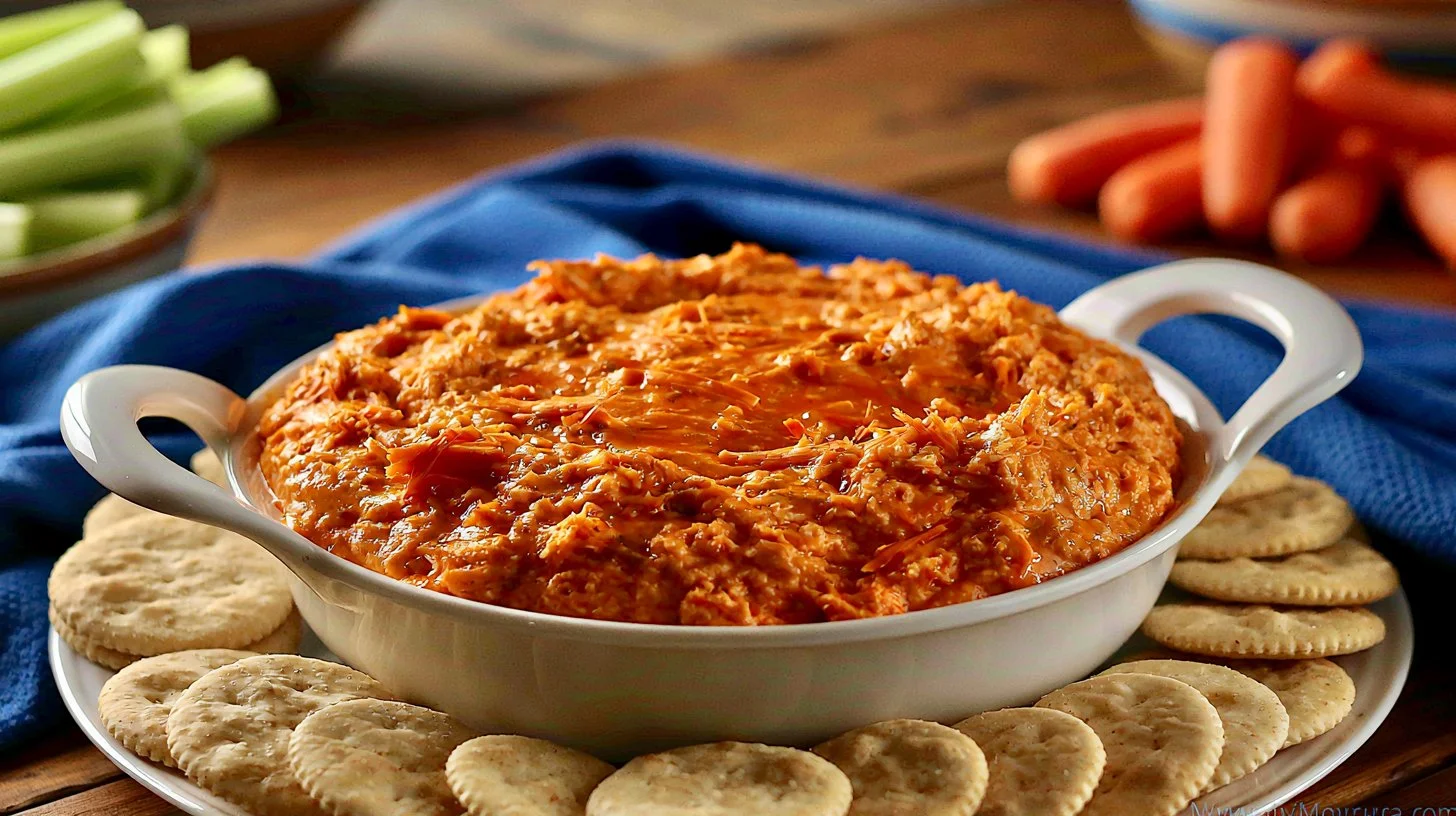
This dip is versatile and can be enjoyed in various situations. Serve it as a hearty snack during the week or as an appetizer at family or friend gatherings. It even works well as part of a relaxed breakfast spread if you’re looking for something different. Leftovers can be a quick addition to lunch, providing a flavorful option when you’re home. Pair it with fresh veggies, gluten-free crackers, or toasted bread for a satisfying bite.
Pro Tips for Best Results
- Make sure to drain the chicken well before shredding; excess liquid can make the dip too watery.
- Use a fork to shred the chicken finely to ensure even distribution throughout the dip.
- If you prefer a bit more heat, adjust the amount of hot sauce to suit your taste.
- Let the dip cool slightly for better serving and flavor blending.
- For a fun twist, consider adding some shredded cheese on top before baking.
Common Mistakes to Avoid
- Not draining the chicken properly. Excess moisture can make the dip too watery. Be sure to drain the cans of chicken well before mixing.
- Skipping the oven preheating. Baking in a properly preheated oven ensures even cooking and optimal texture. Always preheat your oven to 350°F before starting.
- Overbaking the dip. Baking for too long can cause the dip to dry out. Keep an eye on it and look for bubbling edges after about 20 minutes.
- Serving immediately after baking. Allowing the dip to cool for 5 minutes helps the flavors settle, improving the overall taste when served.
- Using too much hot sauce. While it’s meant to add flavor, too much can overwhelm the dish. Start with the recommended amount and adjust to your preference.
- Using the wrong cooking spray. Ensure you’re using gluten-free nonstick spray. This prevents the dip from sticking and maintains its desired texture.
Variations & Substitutions
If you’re looking to switch things up, consider using different dressing flavors to change the overall taste profile, such as a zesty vinaigrette. You could also mix in ingredients like chopped green onions or celery for added crunch if desired.
Storage & Reheating
To store any leftovers, place them in an airtight container and refrigerate. They can stay fresh in the fridge for about 3-4 days. When you’re ready to enjoy them again, reheating in the microwave is quick and convenient. For the best texture, you might opt to reheat it in the oven at a low temperature until warmed through.
Frequently Asked Questions
Can I make this recipe ahead of time?
Yes, you can prepare the dip ahead of time. Assemble it in the casserole dish and then cover it in the fridge until you’re ready to bake it. This is helpful for busy days or gatherings.
How long does it last in the fridge?
When stored in an airtight container, this dip can last up to 3-4 days in the refrigerator. Just make sure it’s well-sealed to maintain freshness.
Can I freeze this recipe?
While the dip can be frozen, it’s best enjoyed fresh. If you choose to freeze it, ensure it’s in an airtight container and consume it within a month. Thaw in the fridge overnight before reheating.
What can I substitute for one ingredient?
If you need to change an ingredient, ranch dressing can be substituted with an alternative dressing that fits your taste, such as a tangy vinaigrette that complements the chicken.
Why didn’t my recipe turn out as expected?
Common reasons include not draining the chicken well enough or skipping the cooling period after baking, which can affect the flavor and texture. It’s important to follow each step for the best result.
Final Thoughts
Making Baked Buffalo Chicken Dip is a straightforward and rewarding experience. The simplicity and comfort of this dish make it a delightful addition to any meal or gathering. From preparation to baking, every step melds together to create a dish that’s both satisfying and versatile. Enjoying this dip can bring a sense of warmth to your culinary routine, making it a recipe to cherish for years to come.
Baked Buffalo Chicken Dip
Ingredients
Main Ingredients
- 2 cans 13-ounce cans chicken breast, drained Provides protein and moisture
- 1/2 cup mayonnaise Adds creaminess
- 1/2 cup gluten-free ranch dressing or gluten-free & dairy-free hot sauce Offers tanginess and consistency
- 2 tablespoons gluten-free hot sauce or gluten-free & dairy-free hot sauce Provides heat and flavor
Instructions
Preparation
- Preheat your oven to 350°F and prepare an 8″ × 8″ casserole dish by spraying it with gluten-free nonstick cooking spray.
- In a large bowl, add the drained chicken breast. Use a fork to shred it into small pieces.
- Add the mayonnaise, ranch dressing, and hot sauce to the shredded chicken. Stir everything together until well combined.
- Transfer the mixture to the prepared baking dish, spreading it out evenly.
Baking
- Bake the dish for 20 minutes in the preheated oven until it starts to bubble around the edges.
- Allow the dip to cool for about 5 minutes before serving.