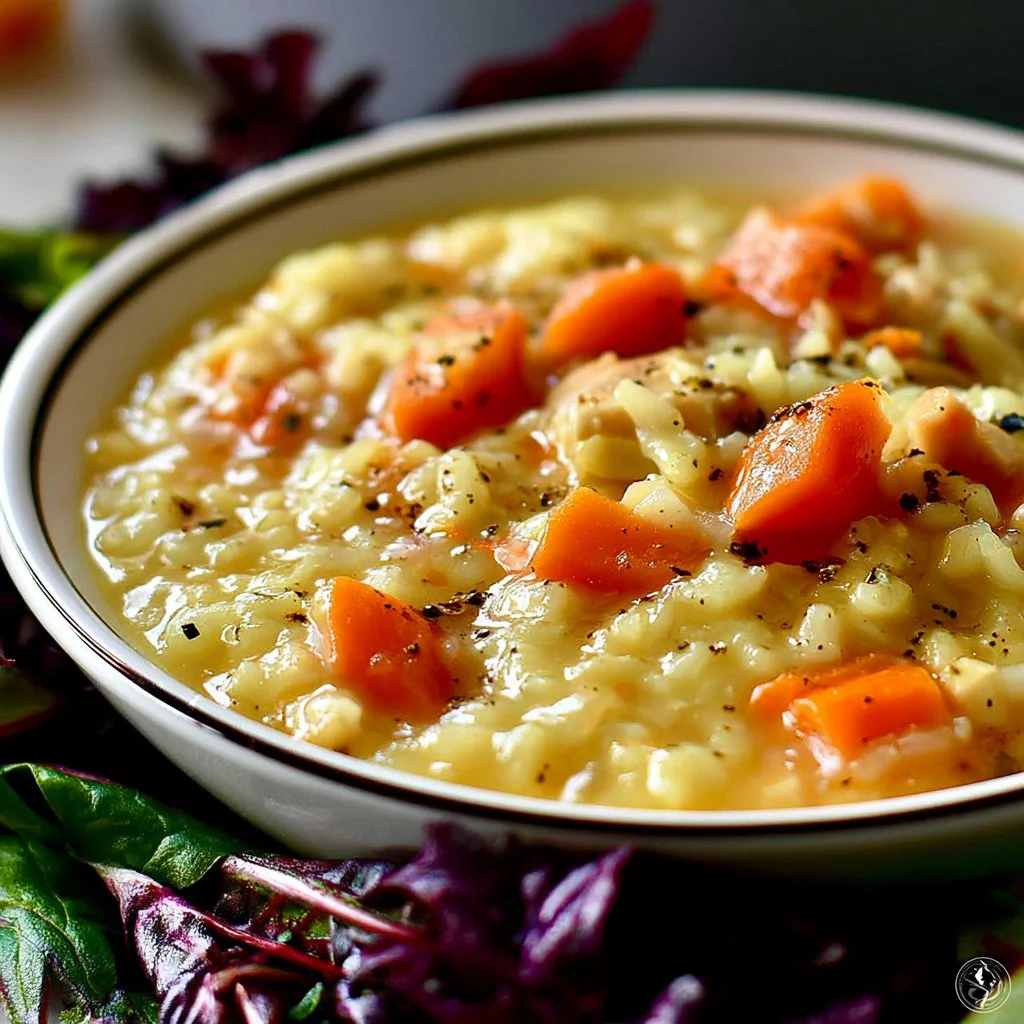


There’s something comforting about making a hot pot of chili on a cooler evening, especially when time is tight. This stovetop white chicken chili is a wonderful one-pot meal that fits easily into busy weeknights, cozy weekends, or gatherings with friends. Its creamy texture, mild spice, and hearty ingredients come together to create a satisfying dish that invites everyone to the table. Plus, it offers flexibility for customization to suit your tastes. Let’s dive into making this simple and comforting chili.
Why You’ll Love This Best Stovetop White Chicken Chili
This stovetop white chicken chili stands out for its ease and reliability, letting you whip up a delightful meal with minimal fuss. The comforting blend of chicken, beans, and spices creates a balanced flavor that fills you up without overwhelming your palate. It’s practical for everyday use, perfect for family dinners or a quiet night at home, making it an essential recipe in your rotation.
Kitchen Tools You’ll Need
- Large pot
- Measuring spoons
- Measuring cups
- Cutting board
- Knife
- Small bowl
Ingredients
- 1 tablespoon olive oil (adds moisture)
- 1 large onion (diced) (provides sweetness and texture)
- 1 tablespoon minced garlic (3 cloves) (adds aroma and depth)
- 2 cups chicken broth (for moisture and flavor base)
- 2 (14-ounce) cans great Northern beans (drained) (offers creaminess and protein)
- 2 (4-ounce) cans mild green chiles (with juices) (provides mild heat and acidity)
- 1 pound boneless skinless chicken breasts (diced) (adds protein and substance)
- 1 cup corn kernels (adds sweetness and texture)
- 2 teaspoons chili powder (contributes warmth and flavor)
- 1 teaspoon ground cumin (for earthy undertones)
- ½ teaspoon dried oregano (adds herbal notes)
- ½ teaspoon salt (enhances overall flavor)
- ½ teaspoon black pepper (provides subtle heat)
- ⅔ cup sour cream (creates creaminess and balances flavors)
How to Make Best Stovetop White Chicken Chili
Step 1. Begin by heating the olive oil in a large pot over medium-high heat. This step ensures the oil is hot enough to sauté the onions properly. Look for the oil to shimmer slightly, signaling that it’s ready for the next ingredient.
Step 2. Add the diced onions to the pot and cook for about 4 minutes until they become softened and translucent. Stir occasionally to prevent sticking and ensure even cooking. As they cook, you’ll notice their sweetness starting to develop.
Step 3. Incorporate the minced garlic and cook for an additional 30 seconds, stirring frequently. The garlic will become fragrant but be careful not to let it burn, as that can cause bitterness. You’ll know it’s ready when the aroma fills your kitchen.
Step 4. Pour in the chicken broth, followed by the drained great Northern beans and the green chiles with their juices. The liquids will help create a nice base for the chili. Stir everything together to combine the flavors well.
Step 5. Add the diced chicken, corn kernels, chili powder, ground cumin, oregano, salt, and black pepper to the pot. Stir gently to combine all the ingredients evenly. This is where the chili starts to take shape, and you’ll see the mixture becoming more cohesive.
Step 6. Bring the pot to a boil while keeping an eye on it to prevent overflowing. Once it reaches a rolling boil, reduce the heat to low and cover the pot. Allow it to simmer for 10 minutes, which will help ensure the chicken is cooked through and flavors meld.
Step 7. After 10 minutes, check that the chicken is fully cooked, no longer pink inside. In a separate small bowl, add the sour cream. Pour about ½ cup of the hot chili mixture into the bowl with the sour cream and stir until well combined. This step prevents the sour cream from curdling when added to the pot.
Step 8. Finally, pour the sour cream mixture back into the chili pot and stir until everything is well combined. The chili should become a creamy consistency; now it’s ready to enjoy.

Serving Suggestions
This white chicken chili is incredibly versatile and can fit into your meals in various ways. Enjoy it as a warming dinner on a chilly night or serve it for lunch to refuel during a busy day. It also makes for great snacks; simply reheat bowls for a cozy treat. Leftovers can easily be stored, offering quick meals throughout the week that just need reheating. It’s a comforting dish that feels right at home any time.
Pro Tips for Best Results
- Don’t rush the sauté: Taking the time to soften the onions and garlic enhances the depth of flavor in your chili.
- Adjust the seasoning: Taste and adjust the spices according to your preference, especially if you like it spicier or with more seasoning.
- Blend well: Ensuring all ingredients are well mixed before simmering helps to meld the flavors.
- Garnish wisely: Toppings like fresh cilantro or cheese can enhance the final dish without much effort.
- Make it thicker: If you wish for a thicker chili, let it simmer uncovered for a few extra minutes to reduce the liquid.
- Reheat gradually: When reheating leftovers, do so gently over low heat to maintain the texture.
Common Mistakes to Avoid
- Burning the garlic: Letting garlic cook too long can lead to bitterness. Add it after the onions have softened and cook just until fragrant.
- Skipping the sour cream step: Not mixing the hot chili into the sour cream first can cause it to curdle when added directly to the pot. This step is essential for a creamy finish.
- Overcrowding the pot: If using a smaller pot, avoid crowding it with too many ingredients at once, which can affect cooking times and consistency.
- Neglecting to season: Forgetting to taste and season as you go can lead to a bland chili. Always check and adjust the flavors before serving.
- Using low-quality broth: The chicken broth contributes significantly to the flavor; using a good-quality broth will enhance the overall taste of the chili.
- Not checking the chicken doneness: Ensure the chicken is fully cooked before mixing in the sour cream by cutting into it to check for pinkness.
Variations & Substitutions
While this recipe is delicious as is, you can experiment with it. Consider adding different beans if you’re looking for a variation on texture. You can also mix in some diced bell peppers for added flavor and color. If you want more heat, consider swapping in spicy green chiles.
Storage & Reheating
You can store the white chicken chili at room temperature for up to two hours after cooking. For longer storage, place it in the refrigerator where it can last up to three days. It also freezes well if stored in an airtight container, lasting up to three months. When you’re ready to enjoy it again, reheat gently on the stove over low heat to keep the creamy texture intact.
Frequently Asked Questions
Can I make this recipe ahead of time?
Yes, this chili can be made ahead of time and stored in the refrigerator. The flavors often improve as they sit, making it a great option for meal prep.
How long does it last in the fridge?
When stored in an airtight container, the chili typically lasts about three days in the refrigerator.
Can I freeze this recipe?
Absolutely! The chili freezes well. Store it in an airtight container, where it can be kept for up to three months.
What can I substitute for one ingredient?
If you’re out of chili powder, you could use a mix of paprika and cayenne for a similar spice profile. Ensure to adjust according to your heat preference.
Why didn’t my recipe turn out as expected?
Several factors can affect the outcome. Ensure you followed the steps carefully, especially regarding cooking times and seasonings. Not mixing the sour cream properly or overcooking the garlic can also impact the flavor.
Final Thoughts
Making this stovetop white chicken chili is a simple, rewarding experience that easily fits into busy life. The rich, creamy texture combined with the wholesome ingredients makes for a comforting meal that provides warmth on any occasion. With its ease and flexibility, it’s a dish you’ll enjoy returning to time and time again. Happy cooking!

Stovetop White Chicken Chili
Ingredients
Base Ingredients
- 1 tablespoon olive oil adds moisture
- 1 large onion, diced provides sweetness and texture
- 1 tablespoon minced garlic adds aroma and depth
- 2 cups chicken broth for moisture and flavor base
Chili Ingredients
- 2 cans great Northern beans, drained (14-ounce cans) offers creaminess and protein
- 2 cans mild green chiles, with juices (4-ounce cans) provides mild heat and acidity
- 1 pound boneless skinless chicken breasts, diced adds protein and substance
- 1 cup corn kernels adds sweetness and texture
Spices
- 2 teaspoons chili powder contributes warmth and flavor
- 1 teaspoon ground cumin for earthy undertones
- ½ teaspoon dried oregano adds herbal notes
- ½ teaspoon salt enhances overall flavor
- ½ teaspoon black pepper provides subtle heat
Creamy Finish
- ⅔ cup sour cream creates creaminess and balances flavors
Instructions
Preparation
- Begin by heating the olive oil in a large pot over medium-high heat until it shimmers slightly.
- Add the diced onions to the pot and cook for about 4 minutes, stirring occasionally, until softened and translucent.
- Incorporate the minced garlic and cook for an additional 30 seconds, stirring frequently until fragrant.
- Pour in the chicken broth, followed by the drained great Northern beans and the green chiles with their juices. Stir to combine.
- Add the diced chicken, corn kernels, chili powder, ground cumin, oregano, salt, and black pepper to the pot. Stir gently to combine.
Cooking
- Bring the pot to a boil while keeping an eye on it to prevent overflowing.
- Once boiling, reduce the heat to low, cover the pot, and let it simmer for 10 minutes.
- After 10 minutes, check that the chicken is fully cooked. In a small bowl, mix about ½ cup of the hot chili with the sour cream until well combined.
- Pour the sour cream mixture back into the chili pot and stir until everything is well combined for a creamy consistency.