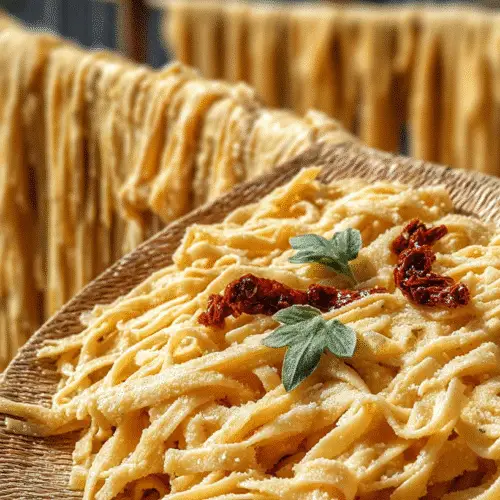
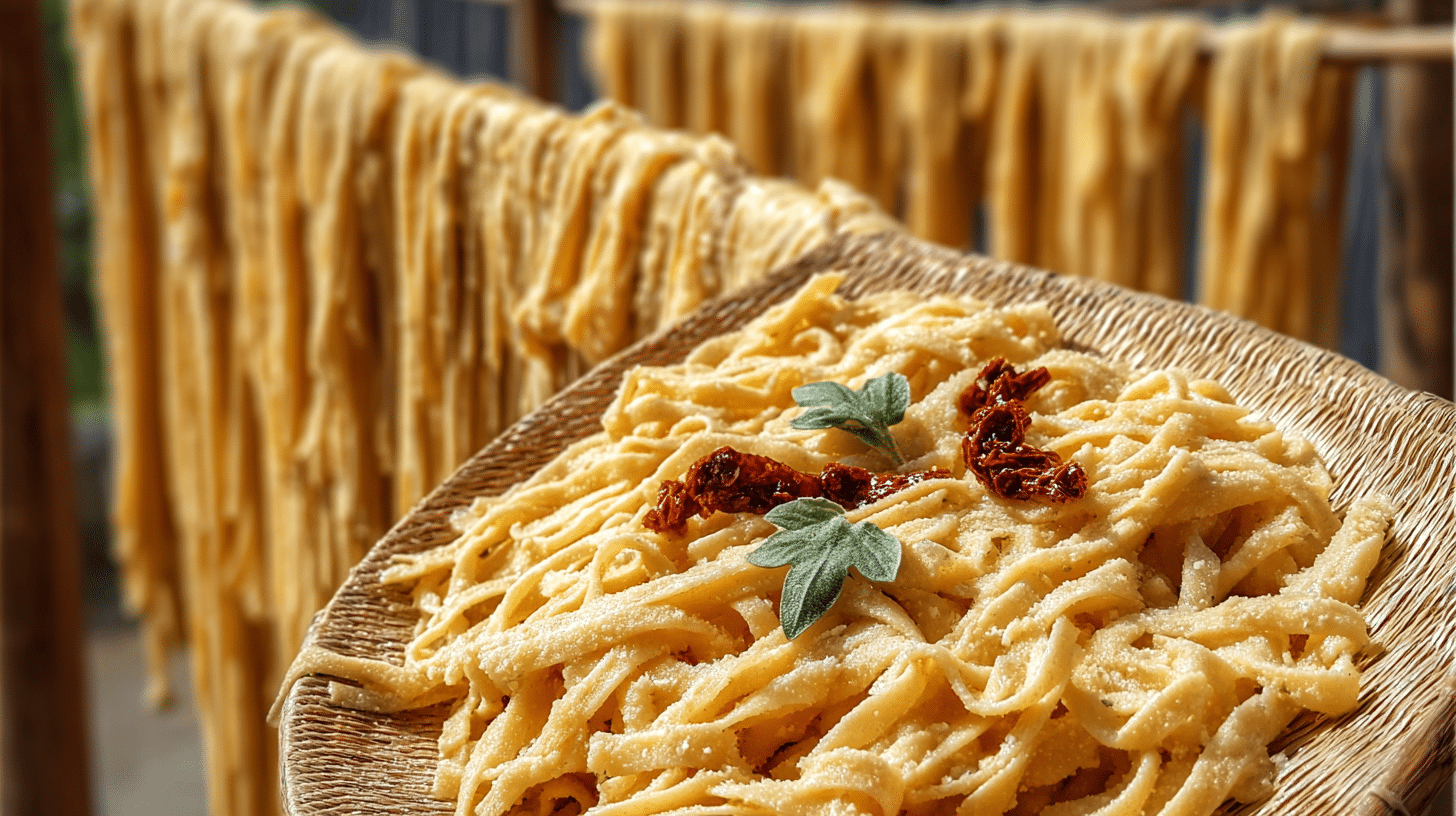
Drying Pasta is a simple yet essential step in mastering homemade noodles. After making your fresh pasta dough recipe with a pasta maker or by hand, proper drying ensures your pasta lasts longer and cooks perfectly every time. Whether you’re crafting different types of pasta—like fettuccine, tagliatelle, or lasagna sheets—drying helps preserve their texture and flavor. It’s part of the charm of a DIY pasta noodles routine that feels both artful and practical. With the right pasta making tools, you can create a handmade pasta recipe that’s beautiful, authentic, and ready to store for future delicious meals.
Serving Versatility
Once your pasta is dried, the possibilities are endless. You can boil it immediately for that tender, just-made texture, store it in jars for future meals, or use it in soups and casseroles that call for firm, chewy noodles. Dried pasta keeps beautifully for months, making it perfect for quick dinners, elegant date nights, or cozy Sunday cooking sessions.
Ingredients:
- 2 cups all-purpose flour (or 1½ cups flour + ½ cup semolina)
- 3 large eggs
- Pinch of salt
- A few drops of olive oil (optional)
Directions:
- Make the dough: On a clean surface, mound your flour and create a well in the center. Crack in the eggs, add salt, and gently mix with a fork until combined. Knead for about 8–10 minutes until smooth and elastic. Wrap in plastic wrap and let rest for 30 minutes.
- Roll out the dough: Divide the dough into smaller pieces and roll out using a pasta maker or rolling pin until thin and even. Dust lightly with flour to prevent sticking.
- Cut the pasta: Use your pasta maker’s cutting attachment or a knife to slice into your desired shape—fettuccine, tagliatelle, pappardelle, or lasagna sheets.
- Arrange for drying: Spread the pasta strands or sheets on a floured surface, drying rack, or clean towel. Make sure the pieces don’t touch each other.
- Air dry: Let your pasta air dry for 12–24 hours depending on humidity. Flip occasionally to ensure even drying.
- Test for dryness: The pasta should snap cleanly when fully dry, not bend or feel tacky.
- Store: Place the dried pasta in airtight containers or glass jars and store in a cool, dry place for up to 2 months.
Prep Time: 20 minutes
Drying Time: 12–24 hours
Total Time: 24 hours (mostly unattended)
Servings: 4
Calories: Approximately 180 per serving
Why You’ll Love This Recipe
- Quick preparation: Simple ingredients and a relaxing, hands-on process.
- Budget-friendly: Uses everyday pantry staples for gourmet results.
- Big, cozy flavor: Homemade pasta has that rich, eggy depth you just can’t get from store-bought.
- Nutritional value: Made from scratch with minimal additives.
- Customizability: Shape, size, and texture are all up to you.
Cultural or Cooking Technique Note (Optional)
In traditional Italian kitchens, drying pasta was a family ritual—a way to preserve fresh dough before refrigeration. Wooden racks lined with long, drying noodles would fill the kitchen with a comforting scent of flour and warmth. Today, this simple method remains a beautiful nod to those timeless Italian traditions.
Serving Suggestions
- Toss your dried pasta with olive oil, garlic, and Parmesan for a quick rustic meal.
- Use in hearty soups or baked pasta dishes for extra chew and texture.
- Pair with homemade marinara or creamy Alfredo for an authentic Italian dinner.
- Layer into lasagna for a robust, slow-baked comfort dish.
Pro Tips for Success
- Use semolina for a firmer texture that dries evenly.
- Avoid humid environments—dry pasta best in a cool, well-ventilated space.
- Dust generously with flour to prevent clumping.
- Don’t rush the drying process—patience is key for perfect storage pasta.
Storage & Reheating
Store fully dried pasta in airtight jars or containers away from heat and moisture. For long-term storage, keep it in the freezer in zip bags for up to 3 months. When ready to use, cook directly from dry—no thawing needed! Reheat cooked pasta in a skillet with a splash of water or sauce to bring back that perfect texture.
5 Common Mistakes to Avoid
- Not Letting the Dough Rest – Skipping the resting period makes the dough tough and hard to roll. Always let it rest for at least 30 minutes to relax the gluten.
- Drying in a Humid Environment – Moisture in the air can prevent your pasta from drying properly, leading to mold. Always dry pasta in a cool, dry, and well-ventilated area.
- Piling Pasta Strands Together – Overlapping or stacking fresh pasta before it’s dry causes clumping. Space the strands evenly on a rack or towel so air can circulate freely.
- Skipping the Flour Dusting – Lightly dusting pasta with flour keeps it from sticking while it dries. Without it, you’ll end up with glued-together noodles.
- Rushing the Drying Process – Trying to speed things up with heat or sunlight can cause cracking. Let pasta air dry naturally at room temperature for the best results.
4 Frequently Asked Questions
1. How long should I dry homemade pasta?
Fresh pasta typically takes 12 to 24 hours to dry completely, depending on humidity and thickness. It should snap cleanly when fully dry.
2. Can I dry pasta in the oven or dehydrator?
Yes, you can use a dehydrator or an oven set to the lowest temperature (below 90°F/32°C) with the door slightly open. However, air drying is gentler and more traditional.
3. How do I know when pasta is completely dry?
When pasta feels brittle and breaks easily instead of bending, it’s ready to store. Any softness means it needs more drying time.
4. How long can I store dried homemade pasta?
If kept in an airtight container in a cool, dark place, dried pasta can last up to 2 months at room temperature or 3 months in the freezer.
Closing Paragraph
There’s a simple satisfaction in seeing your own homemade pasta drying beautifully on the counter—a true sign of craftsmanship and love for good food. Once you’ve tried it, you’ll never want to go back to store-bought noodles. Gather your flour, roll up your sleeves, and start your next batch today—your future self (and your dinner guests) will thank you.
🎀 Final Thoughts
Homemade pasta-making is one of those rituals that feels like self-care in the kitchen. Every strand you dry, every shape you cut—it all adds up to something special and delicious. I hope this guide helps you fall in love with the process as much as the result. Buon appetito, my friend!

How to Drying Pasta
Equipment
- Rolling Pin or Pasta Machine
- Floured Surface
- Pasta Drying Rack or Kitchen Towels
- Airtight Containers or Jars
Ingredients
Pasta Dough
- 2 cups all-purpose flour or use 1½ cups flour + ½ cup semolina
- 3 large eggs
- 1 pinch salt
- olive oil a few drops, optional
Instructions
- Make the dough: On a clean surface, mound the flour and create a well in the center. Crack in the eggs, add salt, and gently mix with a fork. Knead for 8–10 minutes until smooth and elastic. Wrap and rest for 30 minutes.
- Roll the dough: Divide into smaller pieces and roll using a pasta maker or rolling pin until thin. Dust with flour to prevent sticking.
- Cut into shapes: Slice into desired pasta types—fettuccine, tagliatelle, pappardelle, or sheets.
- Arrange for drying: Lay pasta on floured surface, drying rack, or clean towel. Avoid overlapping.
- Air dry: Let pasta dry 12–24 hours depending on humidity. Flip occasionally for even drying.
- Test for dryness: Pasta should snap cleanly when fully dry—not bend or feel tacky.
- Store: Transfer to airtight containers or jars. Store in a cool, dry place for up to 2 months.

