There’s something comforting about a well-cooked chicken cutlet, isn’t there? After a long day, the crunch of the breading and the tender juiciness of the chicken come together to create a satisfying dish that’s perfectly at home on busy weeknights or during leisurely weekend meals. Whether you serve it alongside some fresh veggies or tucked into a sandwich, this chicken cutlet recipe offers a simple and delicious way to enjoy a classic dish. Let’s dive into making these Blackstone Chicken Cutlets together.
Why You’ll Love This Recipe
These Blackstone Chicken Cutlets are all about ease and consistency, making them a go-to in your cooking repertoire. The combination of seasoned breadcrumbs and parmesan adds a comforting depth of flavor that complements the moist chicken perfectly. With their straightforward steps and reliable results, these cutlets fit seamlessly into everyday meals, offering both satisfaction and practicality.
Kitchen Tools You’ll Need
- Large skillet
- Shallow bowls
- Meat mallet or rolling pin
- Tongs
- Paper towels
Ingredients
- 2 boneless skinless chicken breasts (about 2 pounds; tender and juicy)
- 2 large eggs (binding agent)
- ½ cup all-purpose flour (for coating)
- ½ cup panko breadcrumbs (for crunch)
- ½ cup Italian breadcrumbs (for flavor)
- ¼ cup grated parmesan cheese (adds nuttiness)
- Kosher salt and freshly ground black pepper (for seasoning)
- Oil for frying (to create a crisp outer layer)

How to Make Blackstone Chicken Cutlets
Step 1. Begin by preparing the chicken. Place each chicken breast between two pieces of plastic wrap or in a resealable bag and pound them to about a half-inch thickness. This helps tenderize the meat and ensures even cooking. Once flattened, season both sides generously with kosher salt and freshly ground black pepper to enhance the flavor.
Step 2. Set up a breading station with three shallow bowls. In the first bowl, add the all-purpose flour. In the second bowl, whisk together the eggs until they are well combined. In the third bowl, combine the panko breadcrumbs, Italian breadcrumbs, and grated parmesan cheese. Mixing the breadcrumb types adds texture and flavor.
Step 3. Take one flattened chicken breast and dredge it in the flour, making sure to coat it evenly. Shake off any excess flour before moving to the egg mixture. This step is crucial, as the flour helps the egg adhere better.
Step 4. After coating the chicken in egg, transfer it to the breadcrumb mixture. Press the breadcrumbs onto the chicken to ensure a thick, even coating. This step adds the delicious crunch that makes these cutlets so enjoyable. Repeat this process with the remaining chicken breasts.
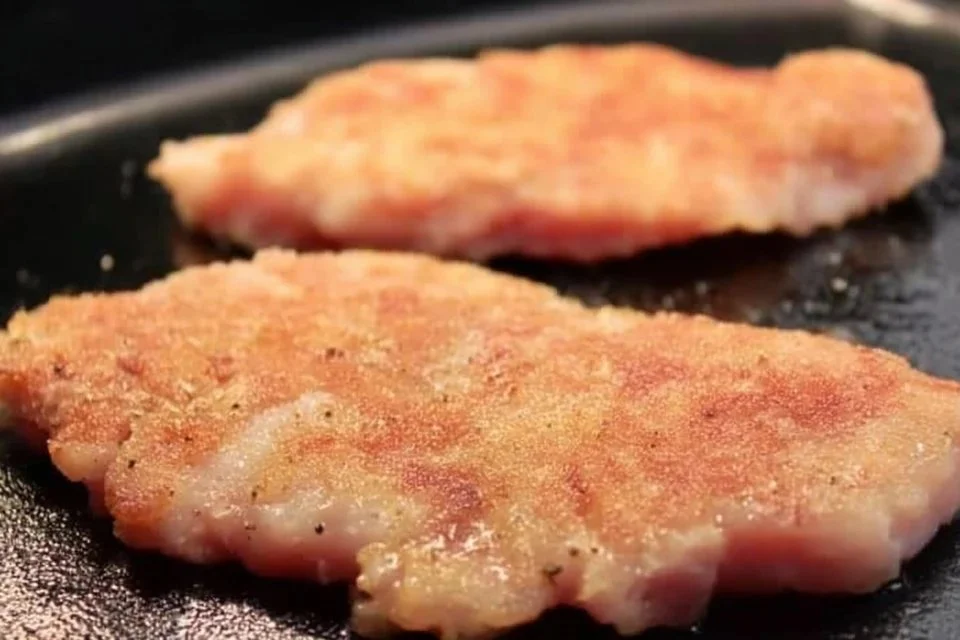
Step 5. Heat a generous amount of oil in a large skillet over medium heat. You want enough oil so that it covers the bottom of the skillet generously. Once the oil is hot and shimmering, carefully add the breaded chicken cutlets to the pan. It’s important to not overcrowd the skillet to ensure proper frying.
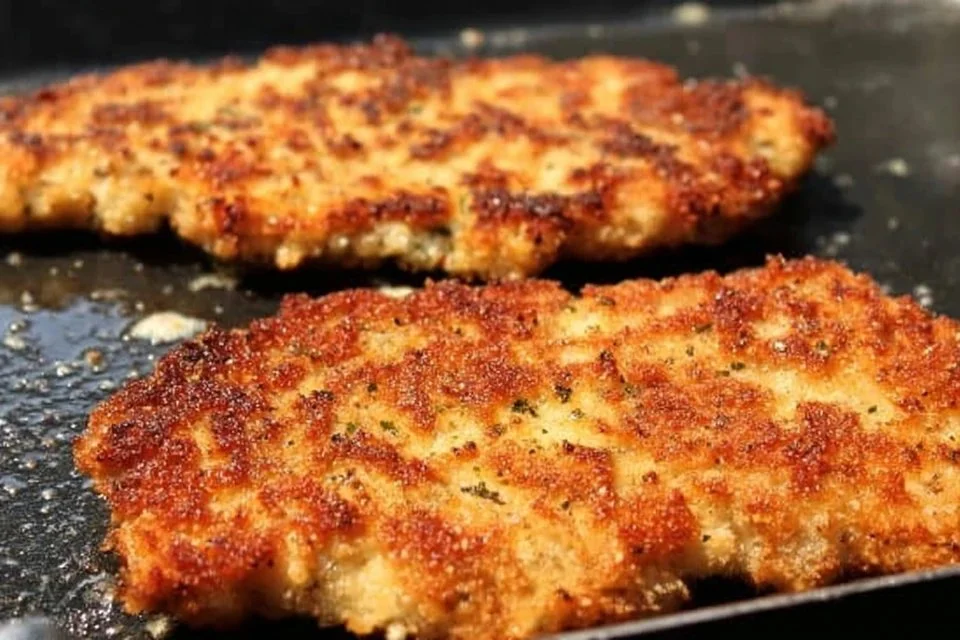
Step 6. Cook the chicken cutlets for about 4 to 5 minutes on each side, or until they are golden brown and cooked through. You’ll know they’re done when the exterior is crisp and the internal temperature reaches 165°F. Use tongs to flip them gently and prevent any of the coating from coming off.
Step 7. Once the chicken cutlets are cooked, remove them from the skillet and place them on a plate lined with paper towels. This helps eliminate any excess oil, keeping the cutlets crispy. Allow them to rest for a few minutes before serving, letting the juices redistribute.
Serving Suggestions
These chicken cutlets are versatile and can be enjoyed in various ways. Serve them alongside a fresh green salad for a light family dinner or place them on a crusty roll with your favorite toppings for a satisfying sandwich. They’re also perfect for snacking, whether served warm or cold. If you have leftovers, consider making a quick chicken salad the next day; it’s a great way to utilize any extras.
Pro Tips for Best Results
- Pound the chicken evenly to ensure uniform cooking.
- Don’t skip the seasoning step; it greatly enhances overall flavor.
- Make sure the oil is hot enough before adding the chicken for the best texture.
- Allow the cutlets to rest briefly after cooking to keep them juicy.
- Experiment with different breadcrumb mixtures for varied textures.
Common Mistakes to Avoid
1. Unevenly pounded chicken: If the chicken isn’t pounded to an even thickness, some parts may cook faster than others, leading to dryness. Always aim for a consistent thickness across each cutlet.
2. Overcrowding the pan: Adding too many cutlets at once can lower the oil temperature, making the breading soggy instead of crispy. Fry in batches to maintain temperature.
3. Ignoring temp checks: Not checking the chicken’s internal temperature can result in undercooked meat. Always use a meat thermometer to ensure safety.
4. Skipping the resting step: Cutting immediately after cooking can lead to juices running out and dry meat. Allow the cutlets to rest for a few minutes before slicing.
5. Inadequate breading: Not pressing the breadcrumbs on firmly may lead to them falling off during frying. Ensure to pack the breadcrumbs onto the chicken well.
6. Wrong oil temperature: If the oil isn’t hot enough, the chicken will absorb too much oil and become greasy. Ensure the oil shimmers before adding the cutlets.
Variations & Substitutions
For a slight twist on these classic cutlets, consider using seasoned breadcrumbs for added flavor or adding some Italian herbs or garlic powder to the breadcrumb mixture. You could also try preparing them with a different cheese if you want a varied taste.
Storage & Reheating
Chicken cutlets can be stored at room temperature for up to two hours after frying. For longer storage, place them in an airtight container in the refrigerator for up to three days. If you want to keep them for even longer, they can be frozen for up to three months. When reheating, use a skillet over medium heat to regain that crispy texture, flipping them occasionally until heated through.
Frequently Asked Questions
Can I make this recipe ahead of time?
Yes, you can prepare the chicken cutlets in advance and store them in the refrigerator before frying. Just be sure to bread them shortly before you’re ready to cook for the best results.
How long does it last in the fridge?
Cooked chicken cutlets can be stored in the refrigerator for up to three days when kept in an airtight container.
Can I freeze this recipe?
Yes, these cutlets freeze well. They can be frozen for up to three months. Just make sure to store them in a freezer-safe container to preserve their quality.
What can I substitute for one ingredient?
If you don’t have panko breadcrumbs, you can use regular breadcrumbs as an alternative. However, the texture will be slightly different; panko gives a lighter, crunchier finish.
Why didn’t my recipe turn out as expected?
There could be various reasons, such as unevenly pounded chicken or inadequate oil temperature. Following each step closely will help ensure a successful outcome.
Final Thoughts
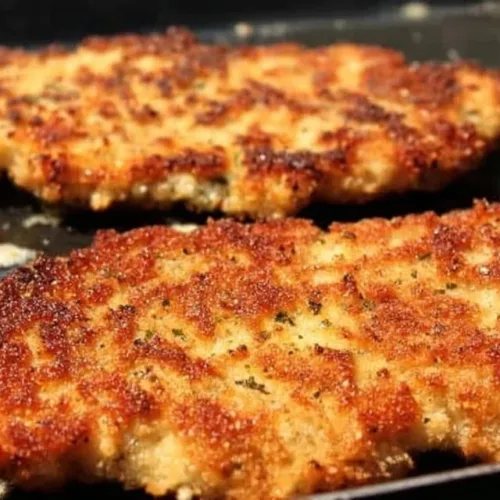
Making Blackstone Chicken Cutlets is a straightforward process that results in a delicious meal that you’ll want to return to time and time again. With their crispy coating and juicy inside, they offer a satisfying option no matter the occasion. Enjoy the comfort of this beloved dish, knowing that it combines simplicity with delightful flavor for everyone to appreciate in your kitchen.
Blackstone Chicken Cutlets
Ingredients
For the Chicken
- 2 pounds boneless skinless chicken breasts Tender and juicy
For Breading
- 2 large eggs Binding agent
- ½ cup all-purpose flour For coating
- ½ cup panko breadcrumbs For crunch
- ½ cup Italian breadcrumbs For flavor
- ¼ cup grated parmesan cheese Adds nuttiness
- to taste Kosher salt and freshly ground black pepper For seasoning
- as needed cup oil for frying To create a crisp outer layer
Instructions
Preparation
- Pound each chicken breast between two pieces of plastic wrap or in a resealable bag to about a half-inch thickness. Season both sides with kosher salt and freshly ground black pepper.
Breading Station Setup
- Set up three shallow bowls: one with all-purpose flour, the second with whisked eggs, and the third with a mixture of panko breadcrumbs, Italian breadcrumbs, and grated parmesan cheese.
Breading the Chicken
- Dredge the flattened chicken breast in flour, ensuring even coating; shake off excess. Then coat in egg and finally in the breadcrumb mixture, pressing firmly to ensure a thick coating.
Cooking
- Heat sufficient oil in a large skillet over medium heat until hot. Carefully add the breaded chicken cutlets, cooking for 4 to 5 minutes on each side or until golden brown and cooked through.
Draining and Resting
- Remove the cooked chicken cutlets from the skillet and place on a plate lined with paper towels to absorb excess oil. Allow to rest for a few minutes before serving.